THE COLLECTION
NEW WORK
THE STORY
PRESS
ABOUT
CONTACT ARTWORK & SALES
THE COLLECTION
NEW WORK
THE STORY
PRESS
ABOUT
CONTACT ARTWORK & SALES
Big Blue
BIG BLUE
View fullsize
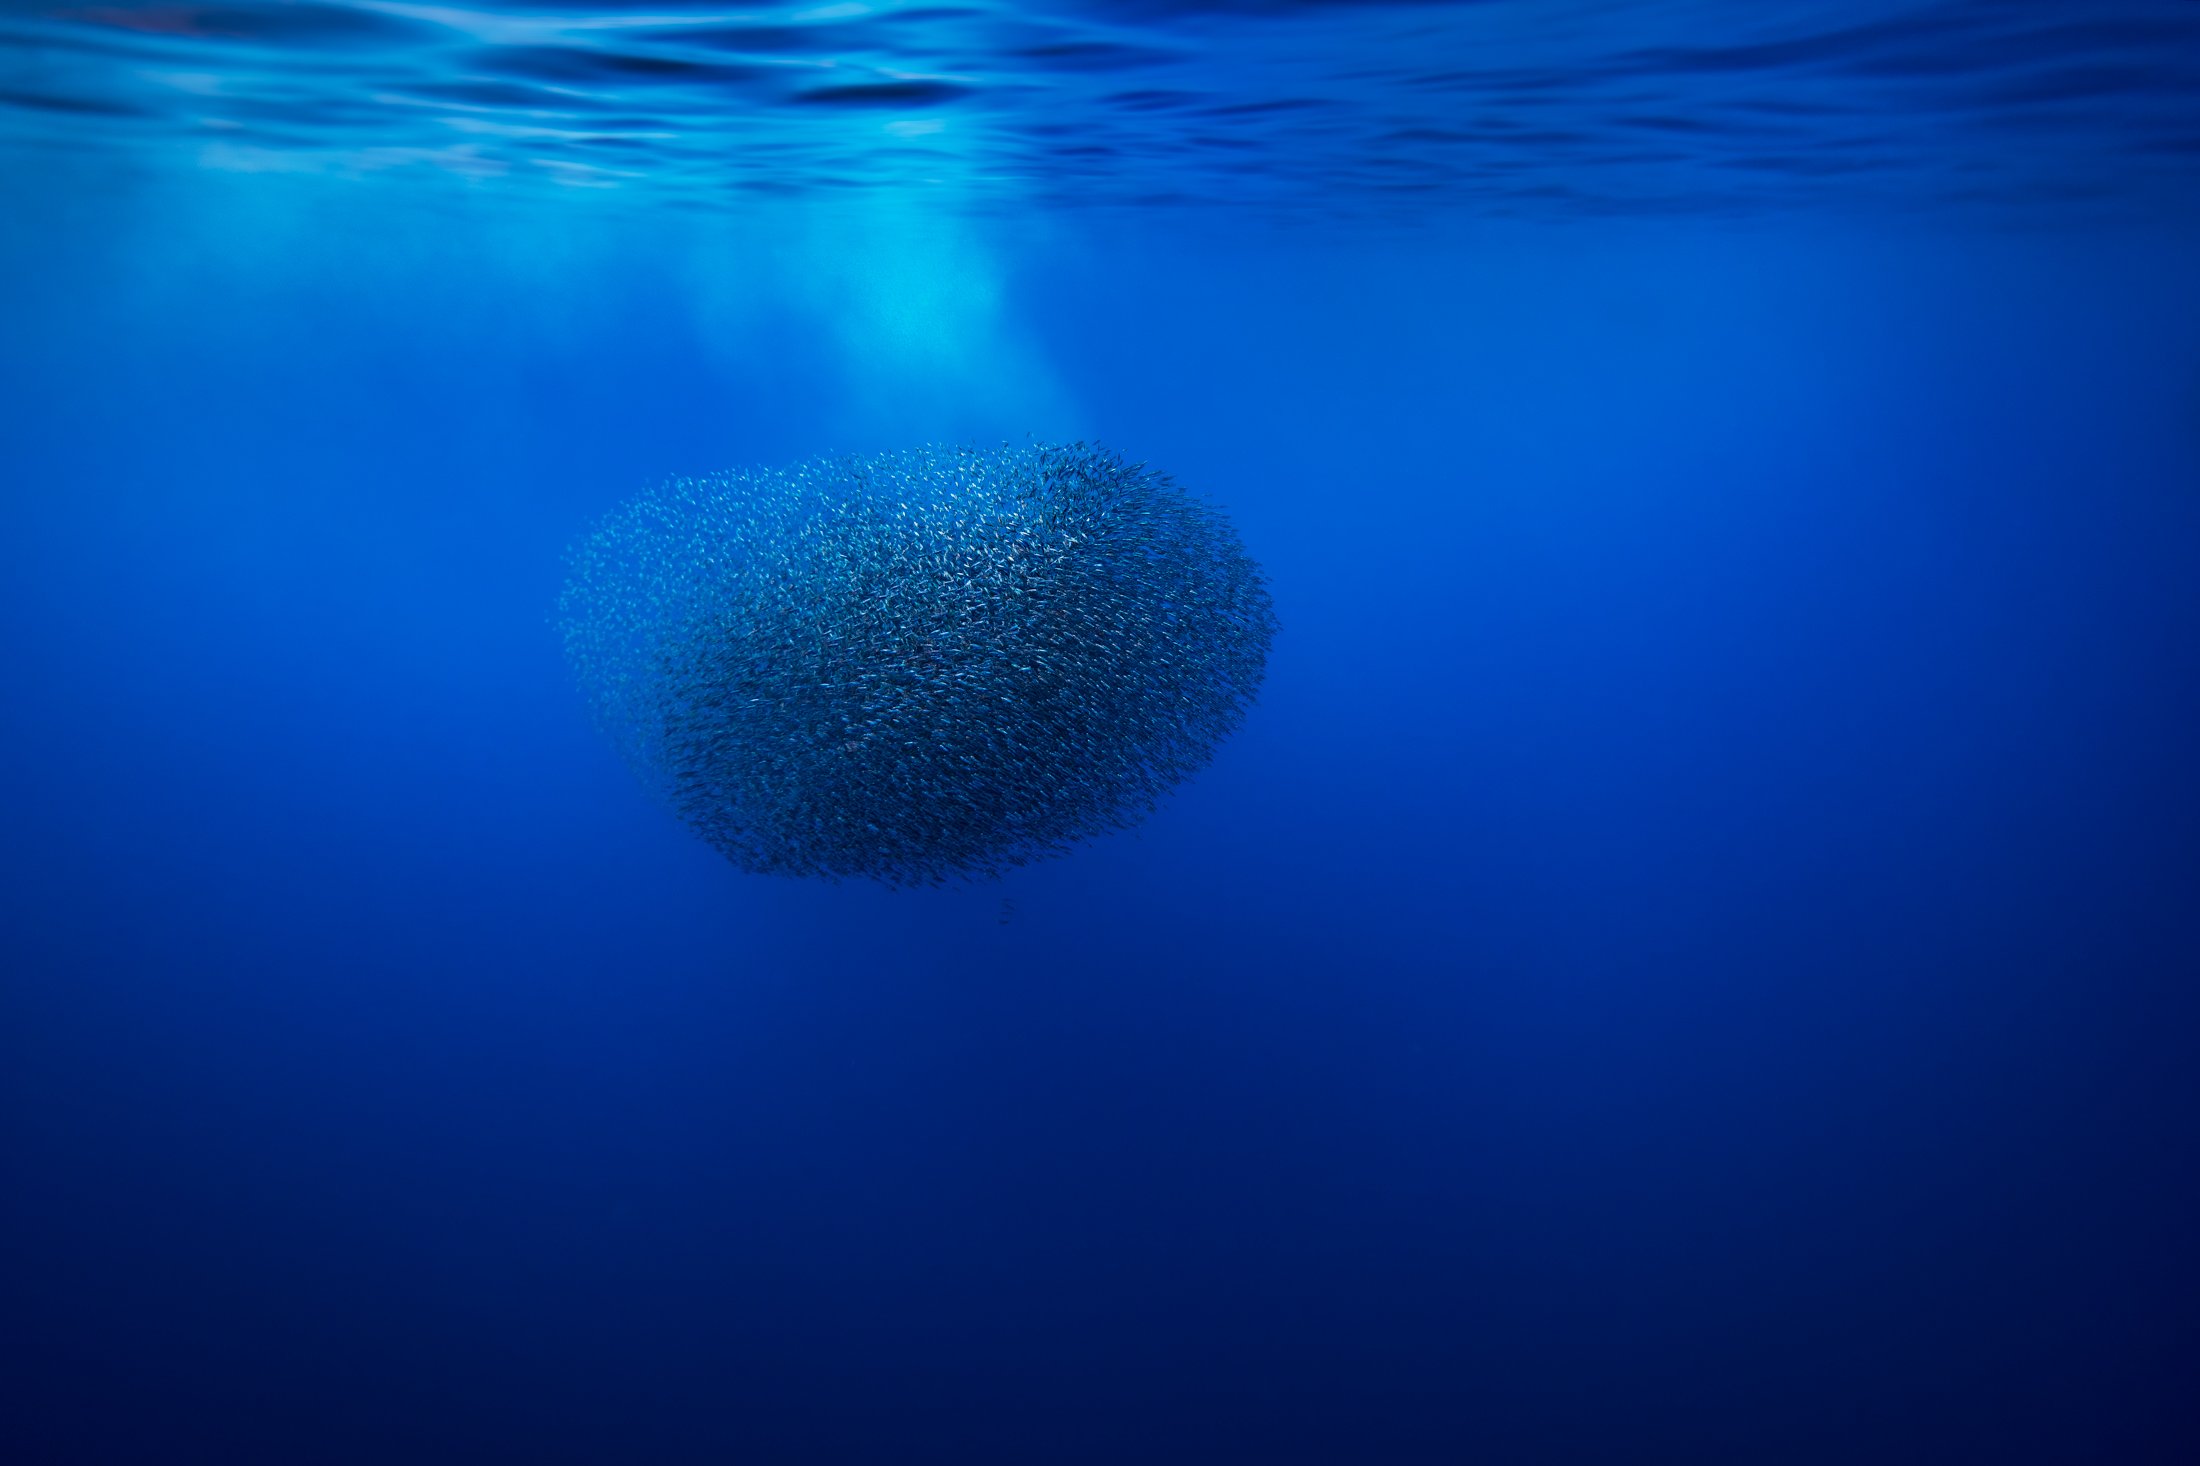
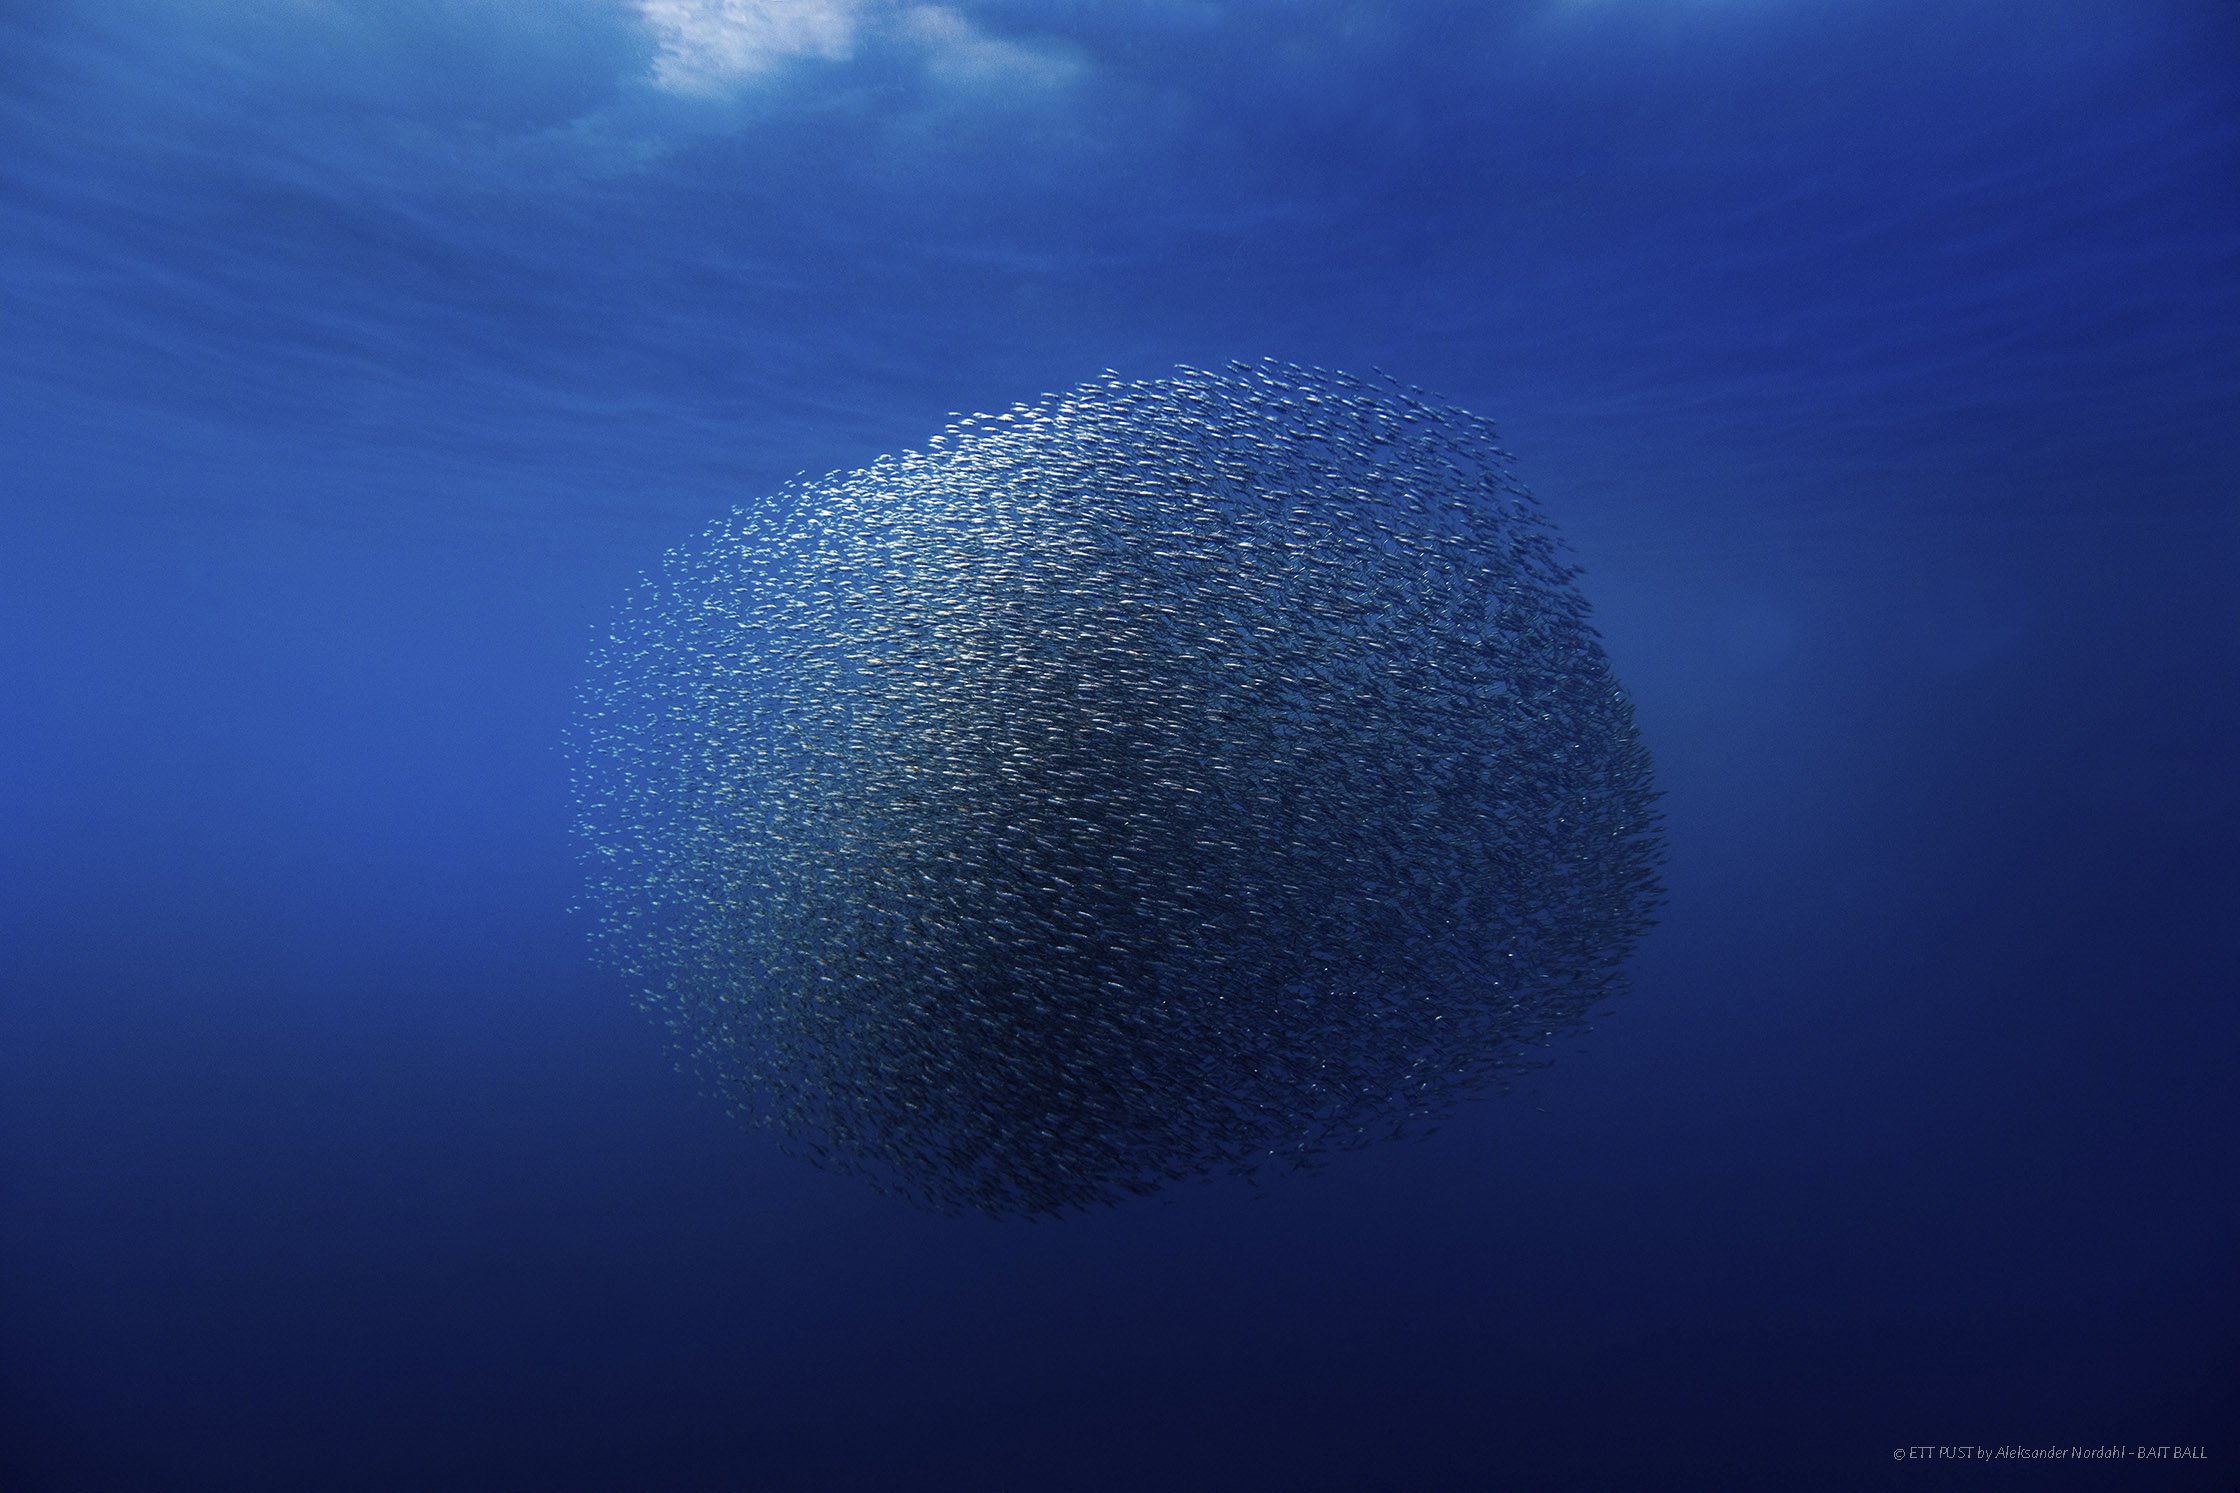
Bait Ball - Big Blue
View fullsize
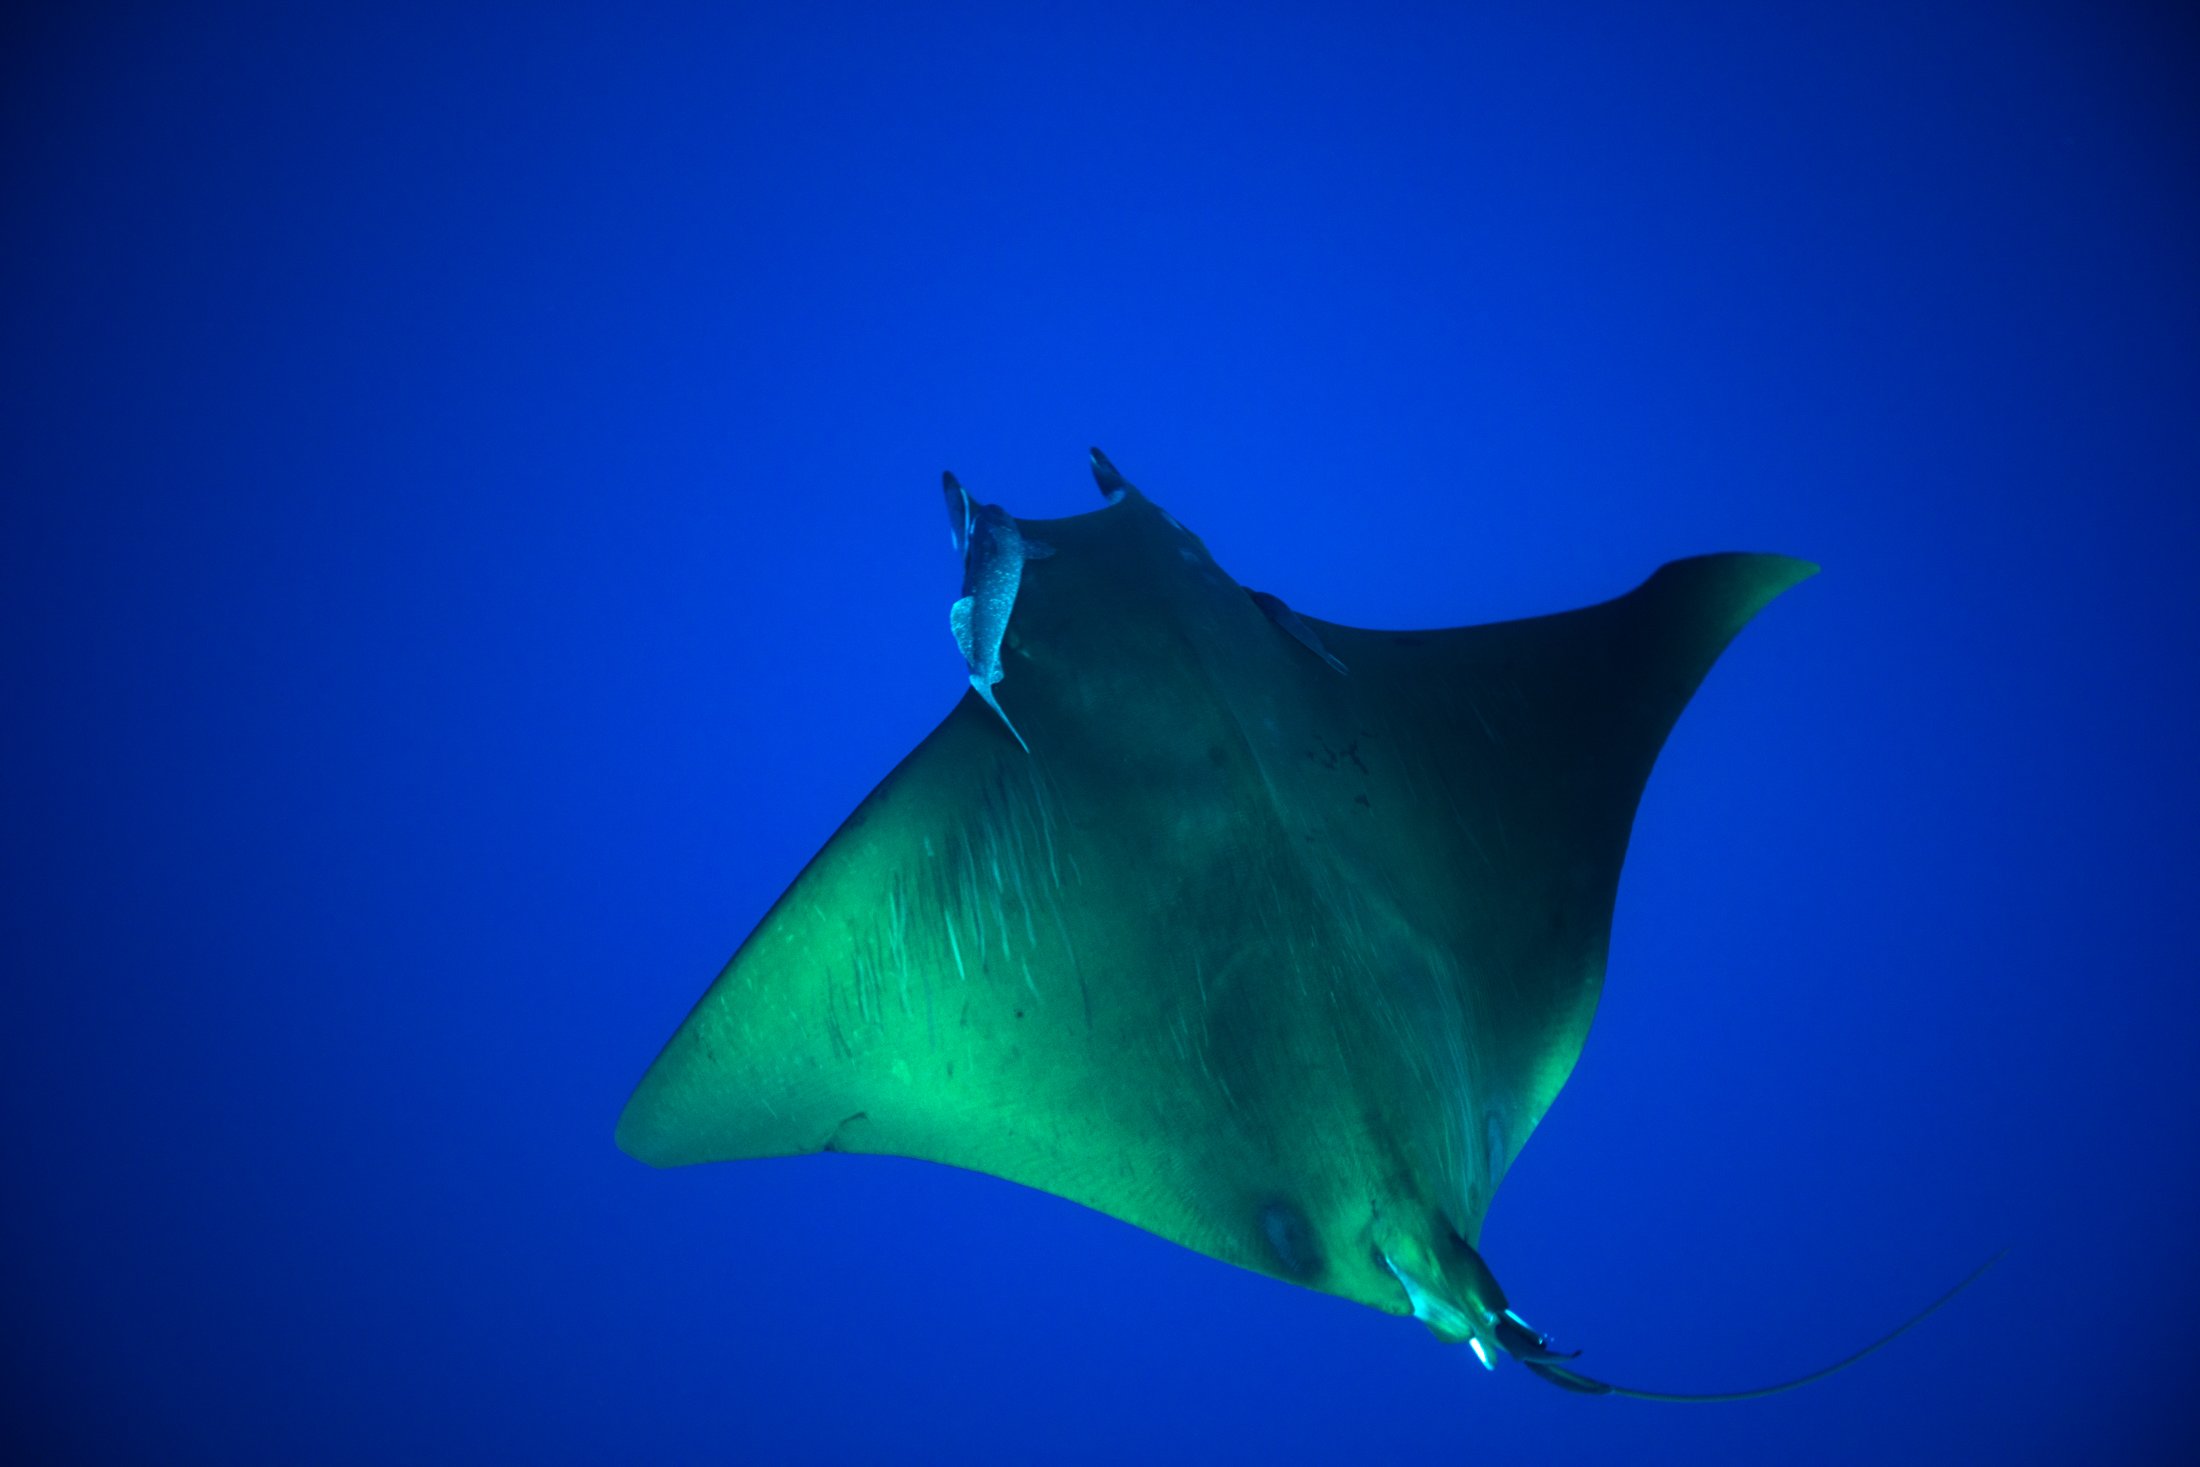
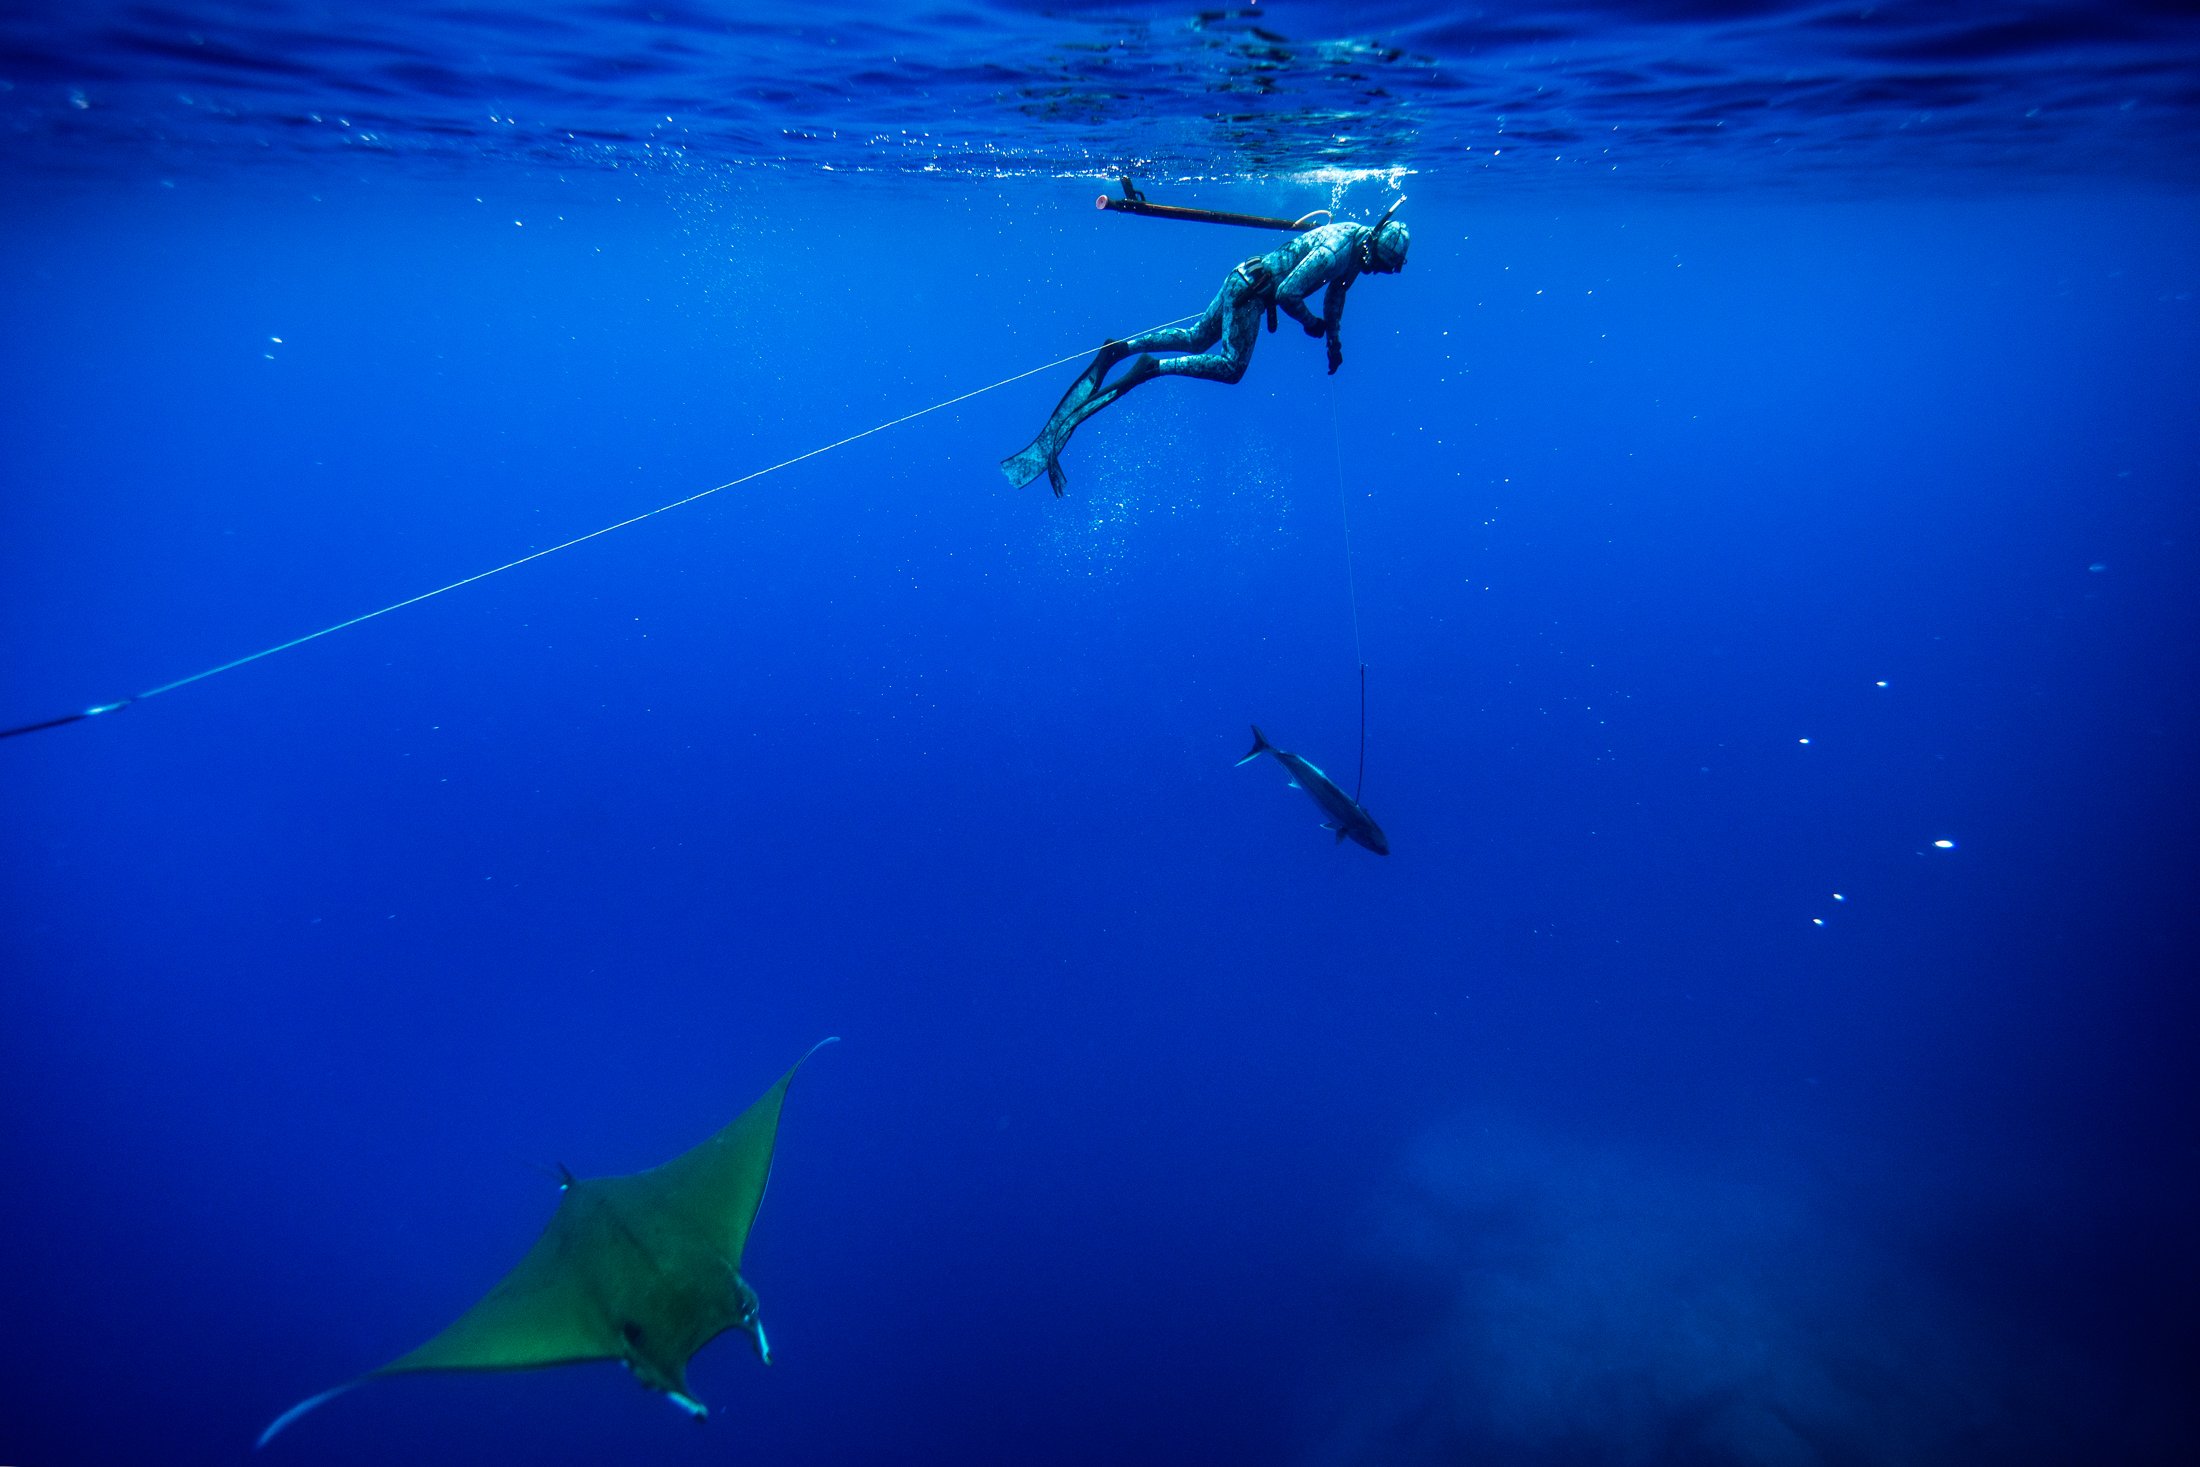
Ray - Big Blue
View fullsize
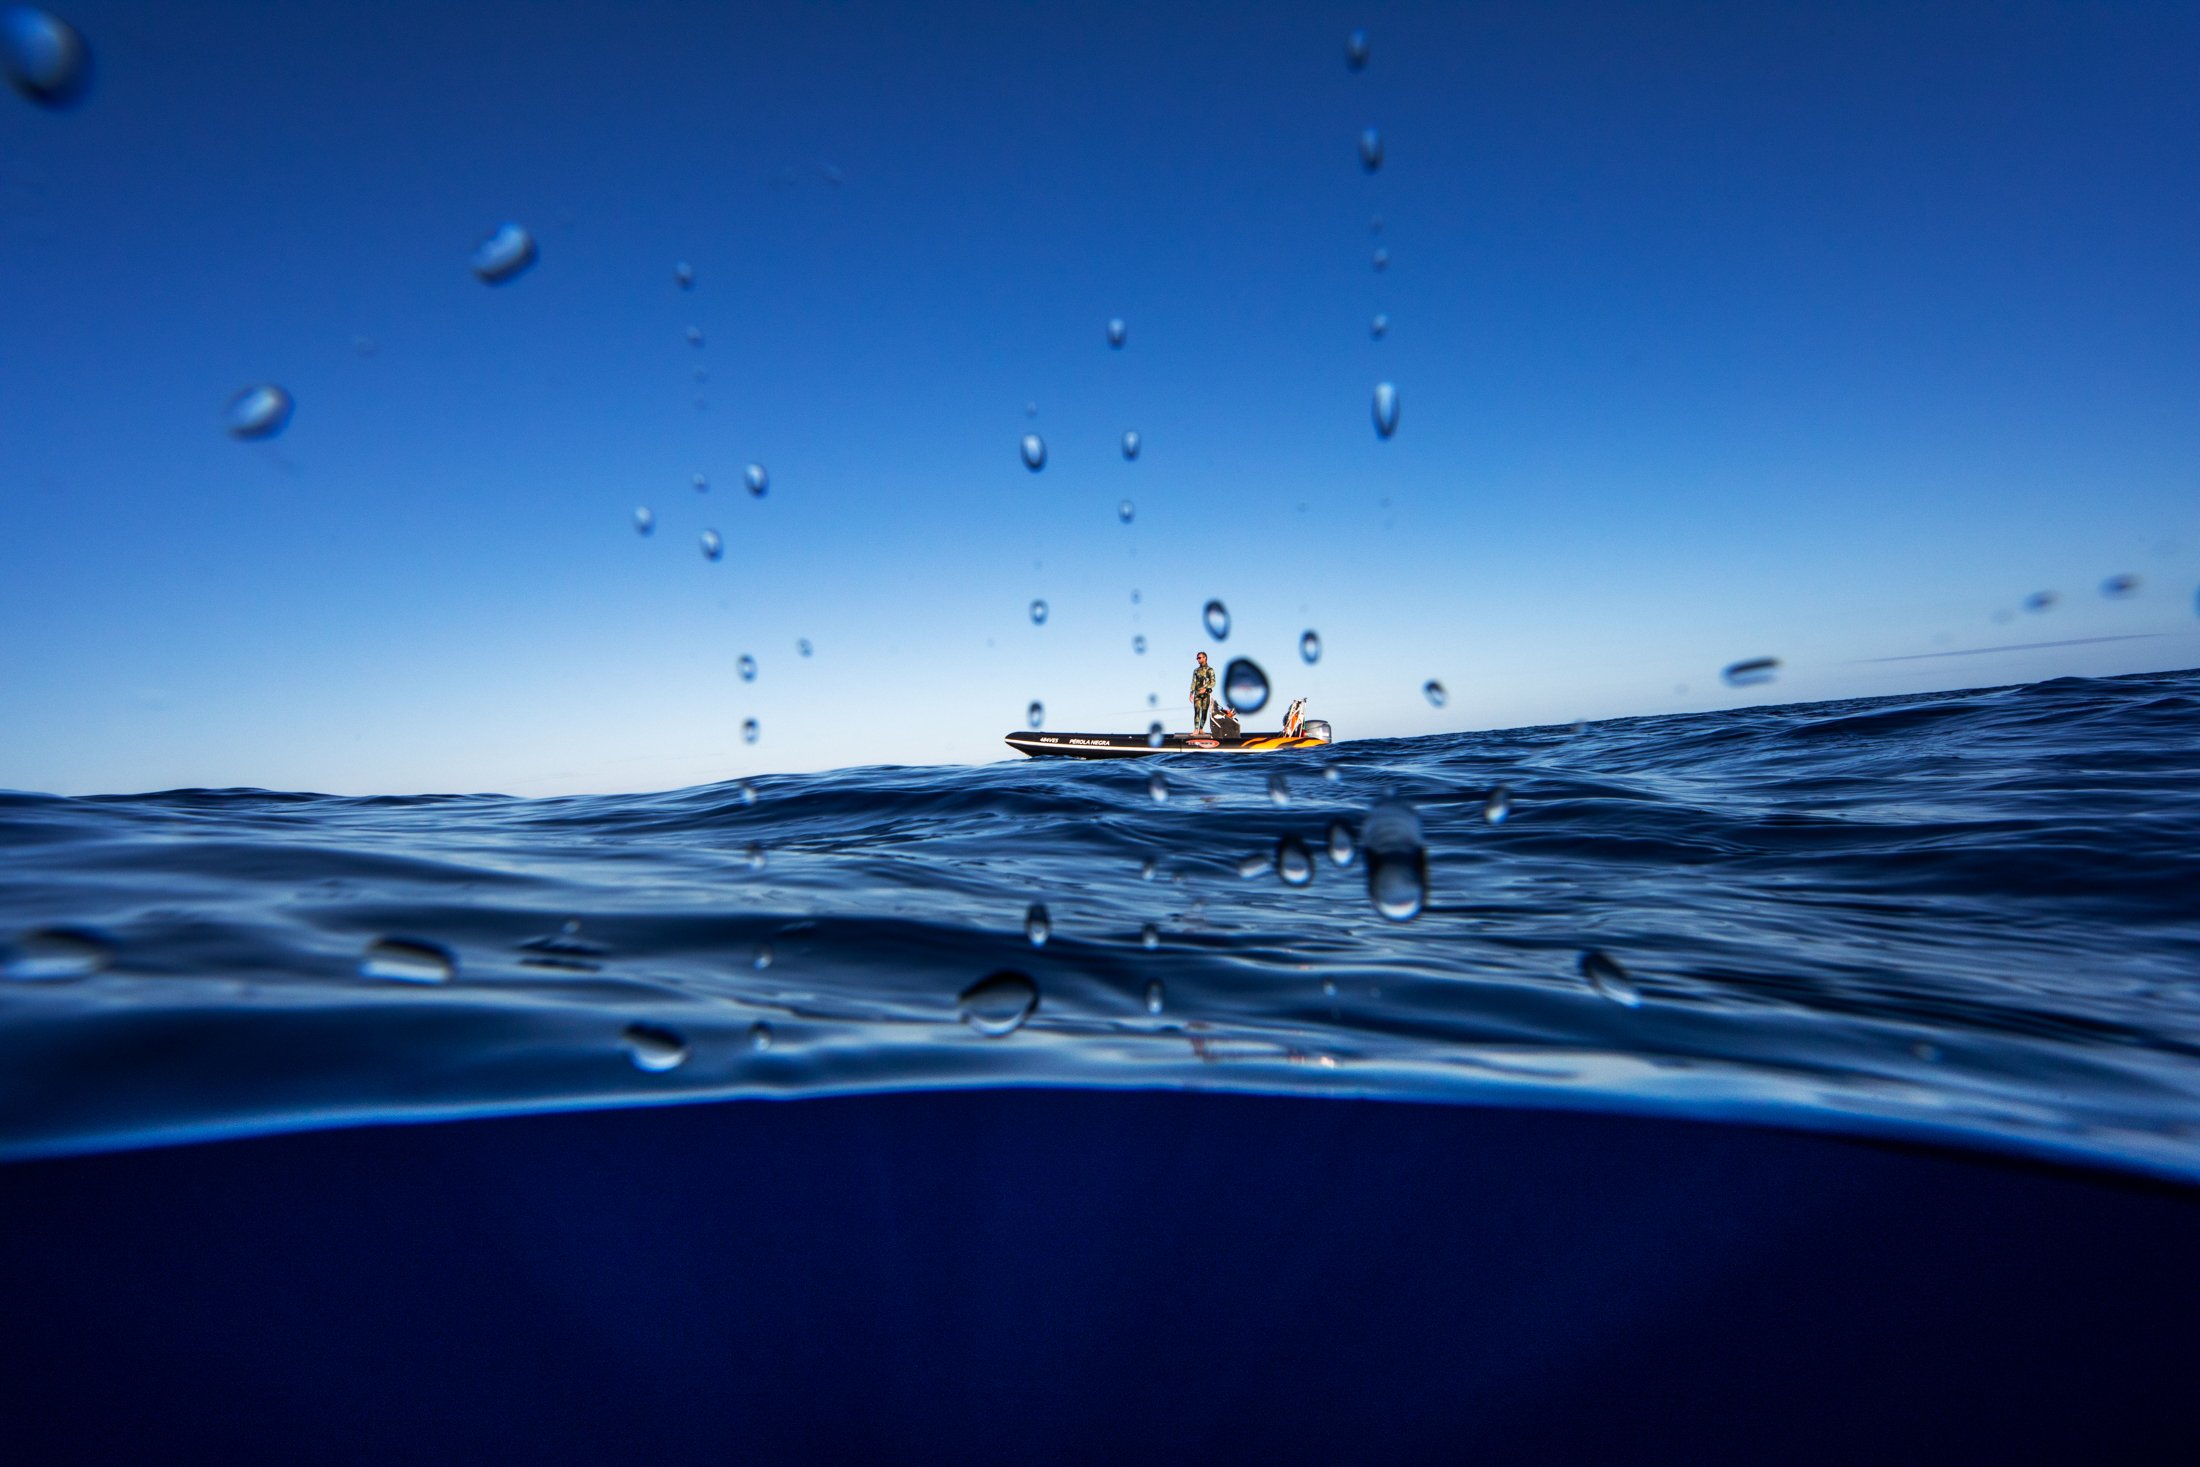
Azores No 2 - Big Blue
View fullsize
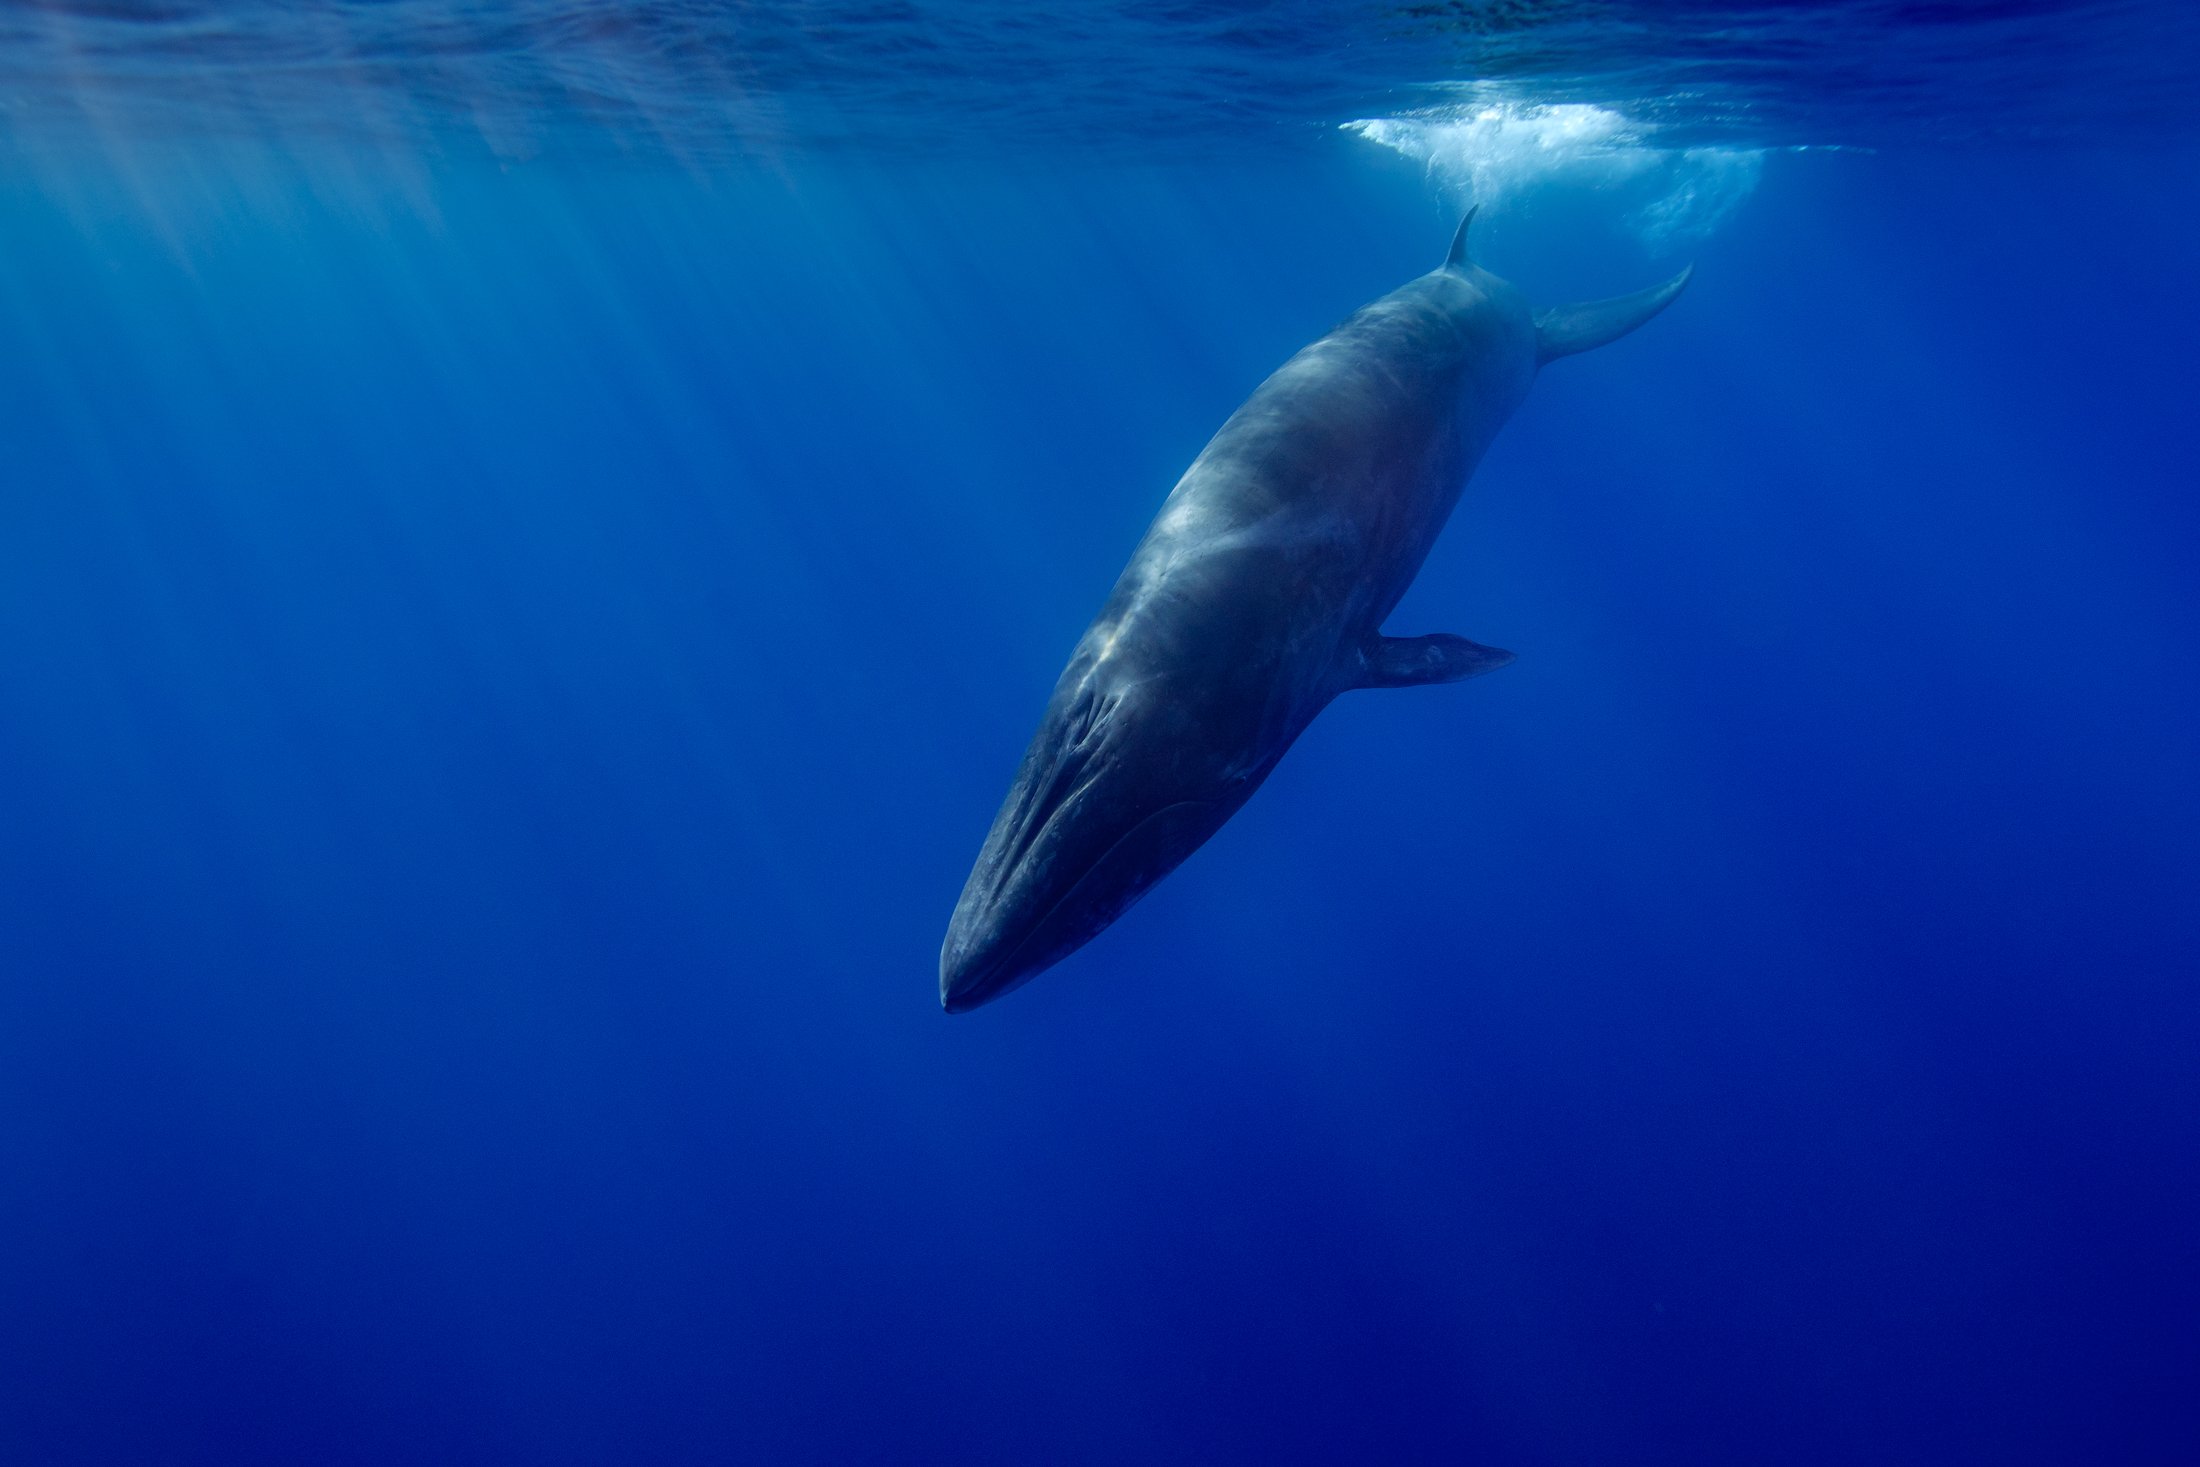
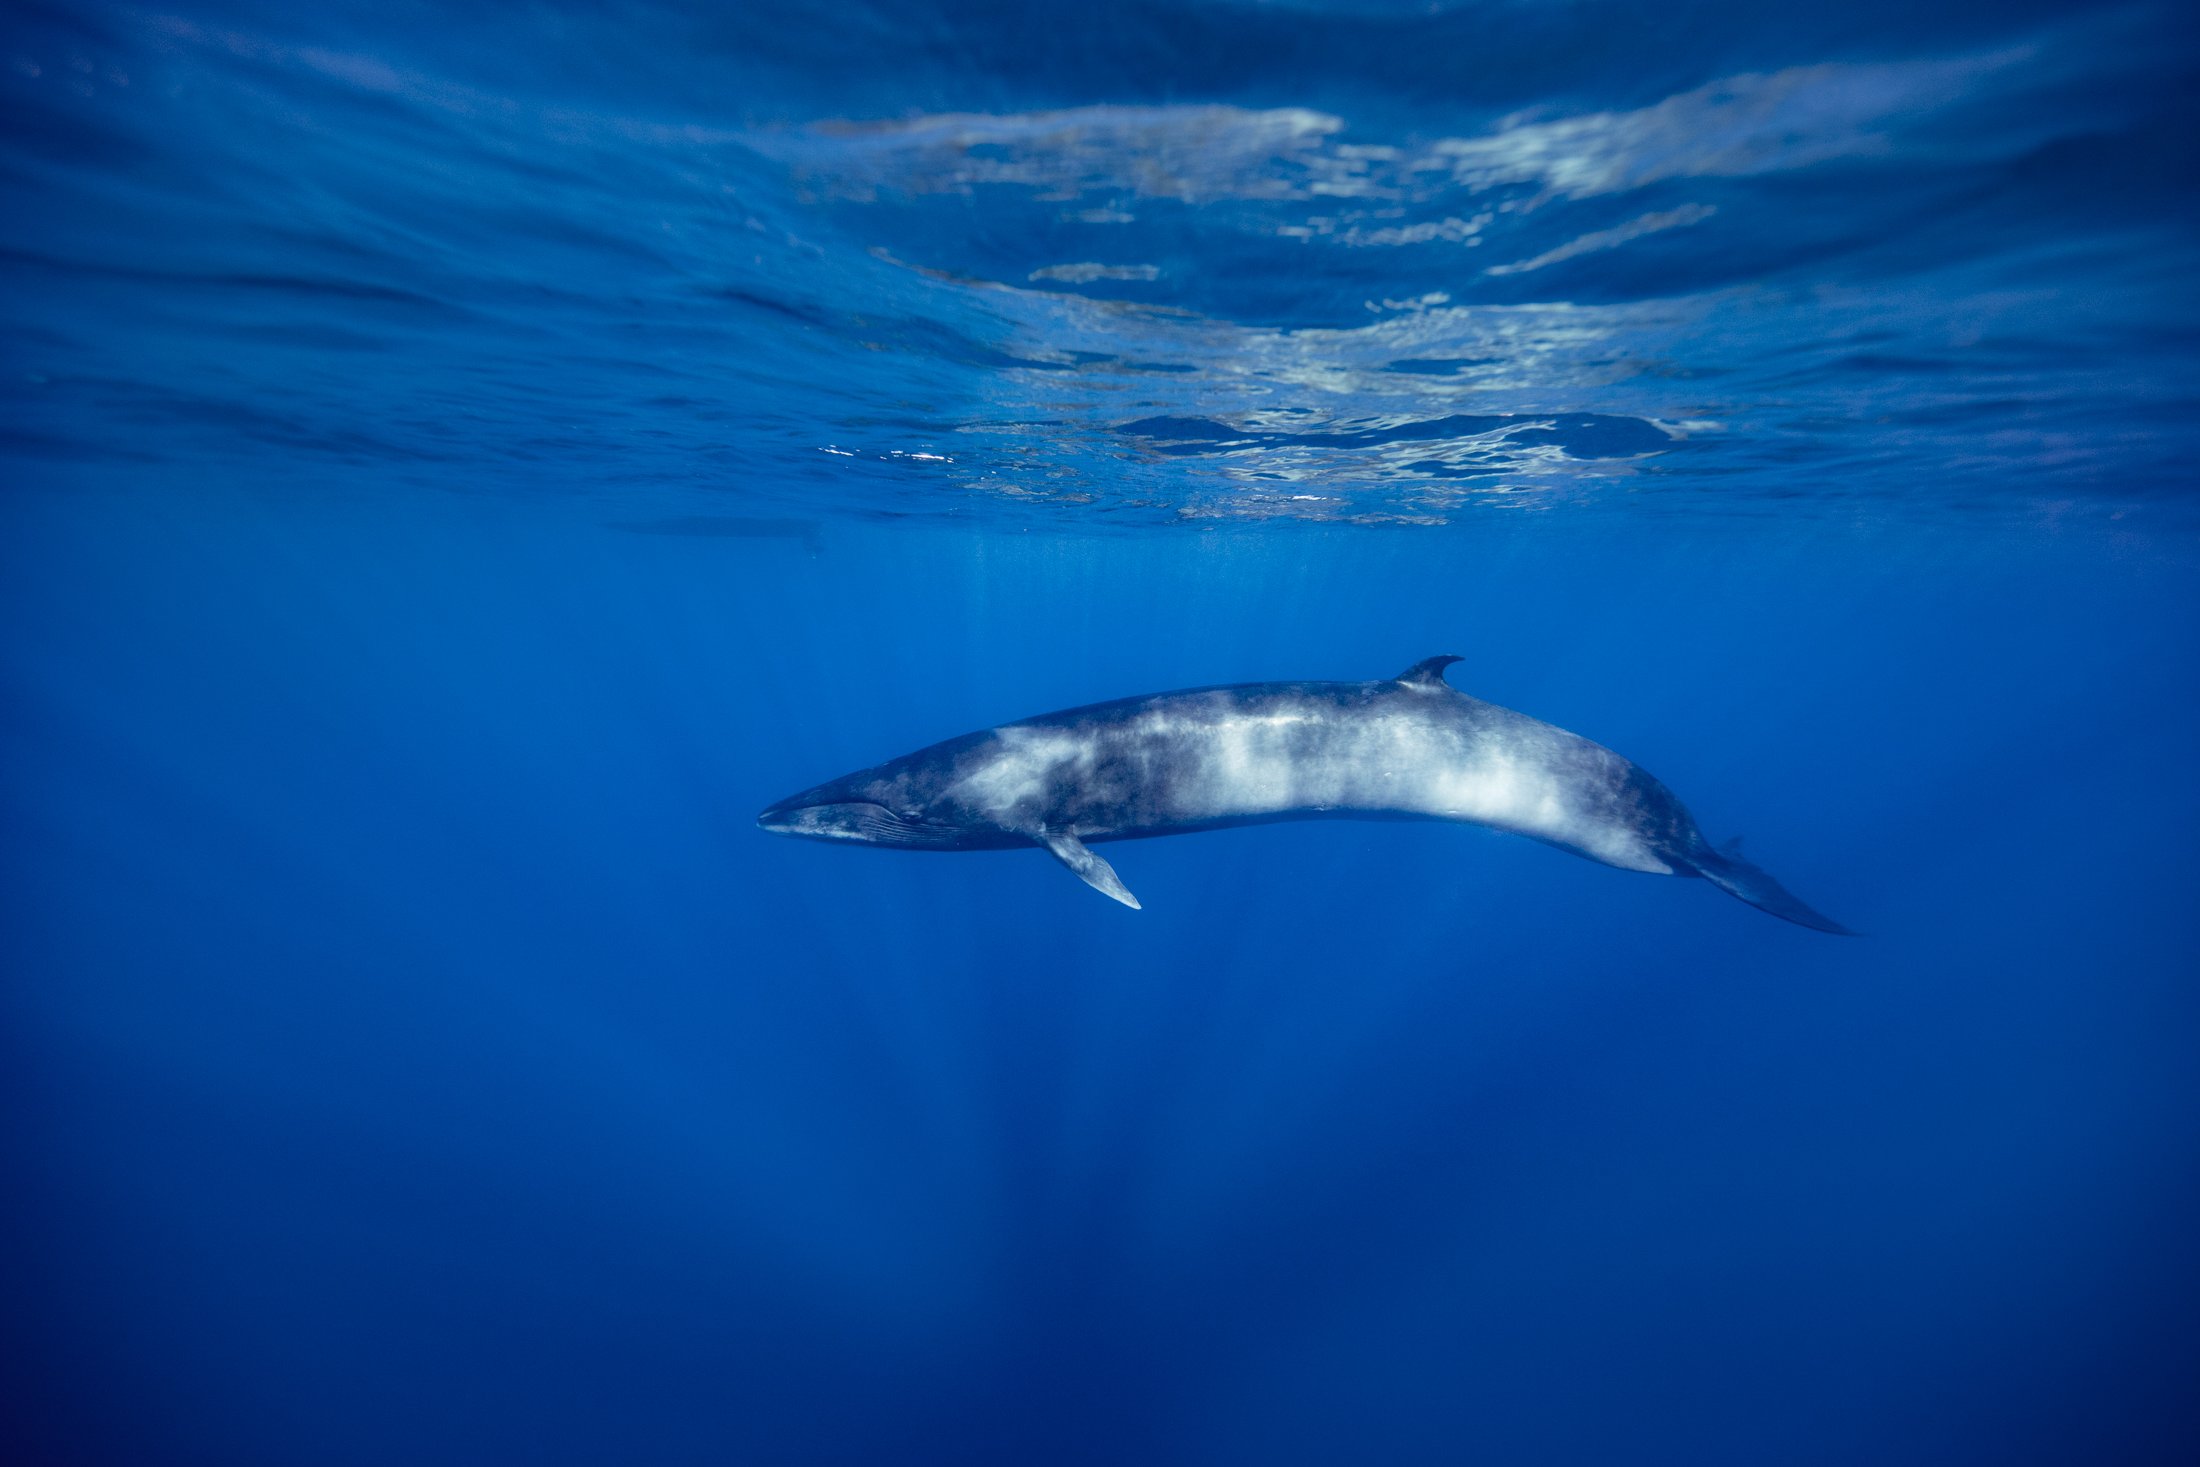
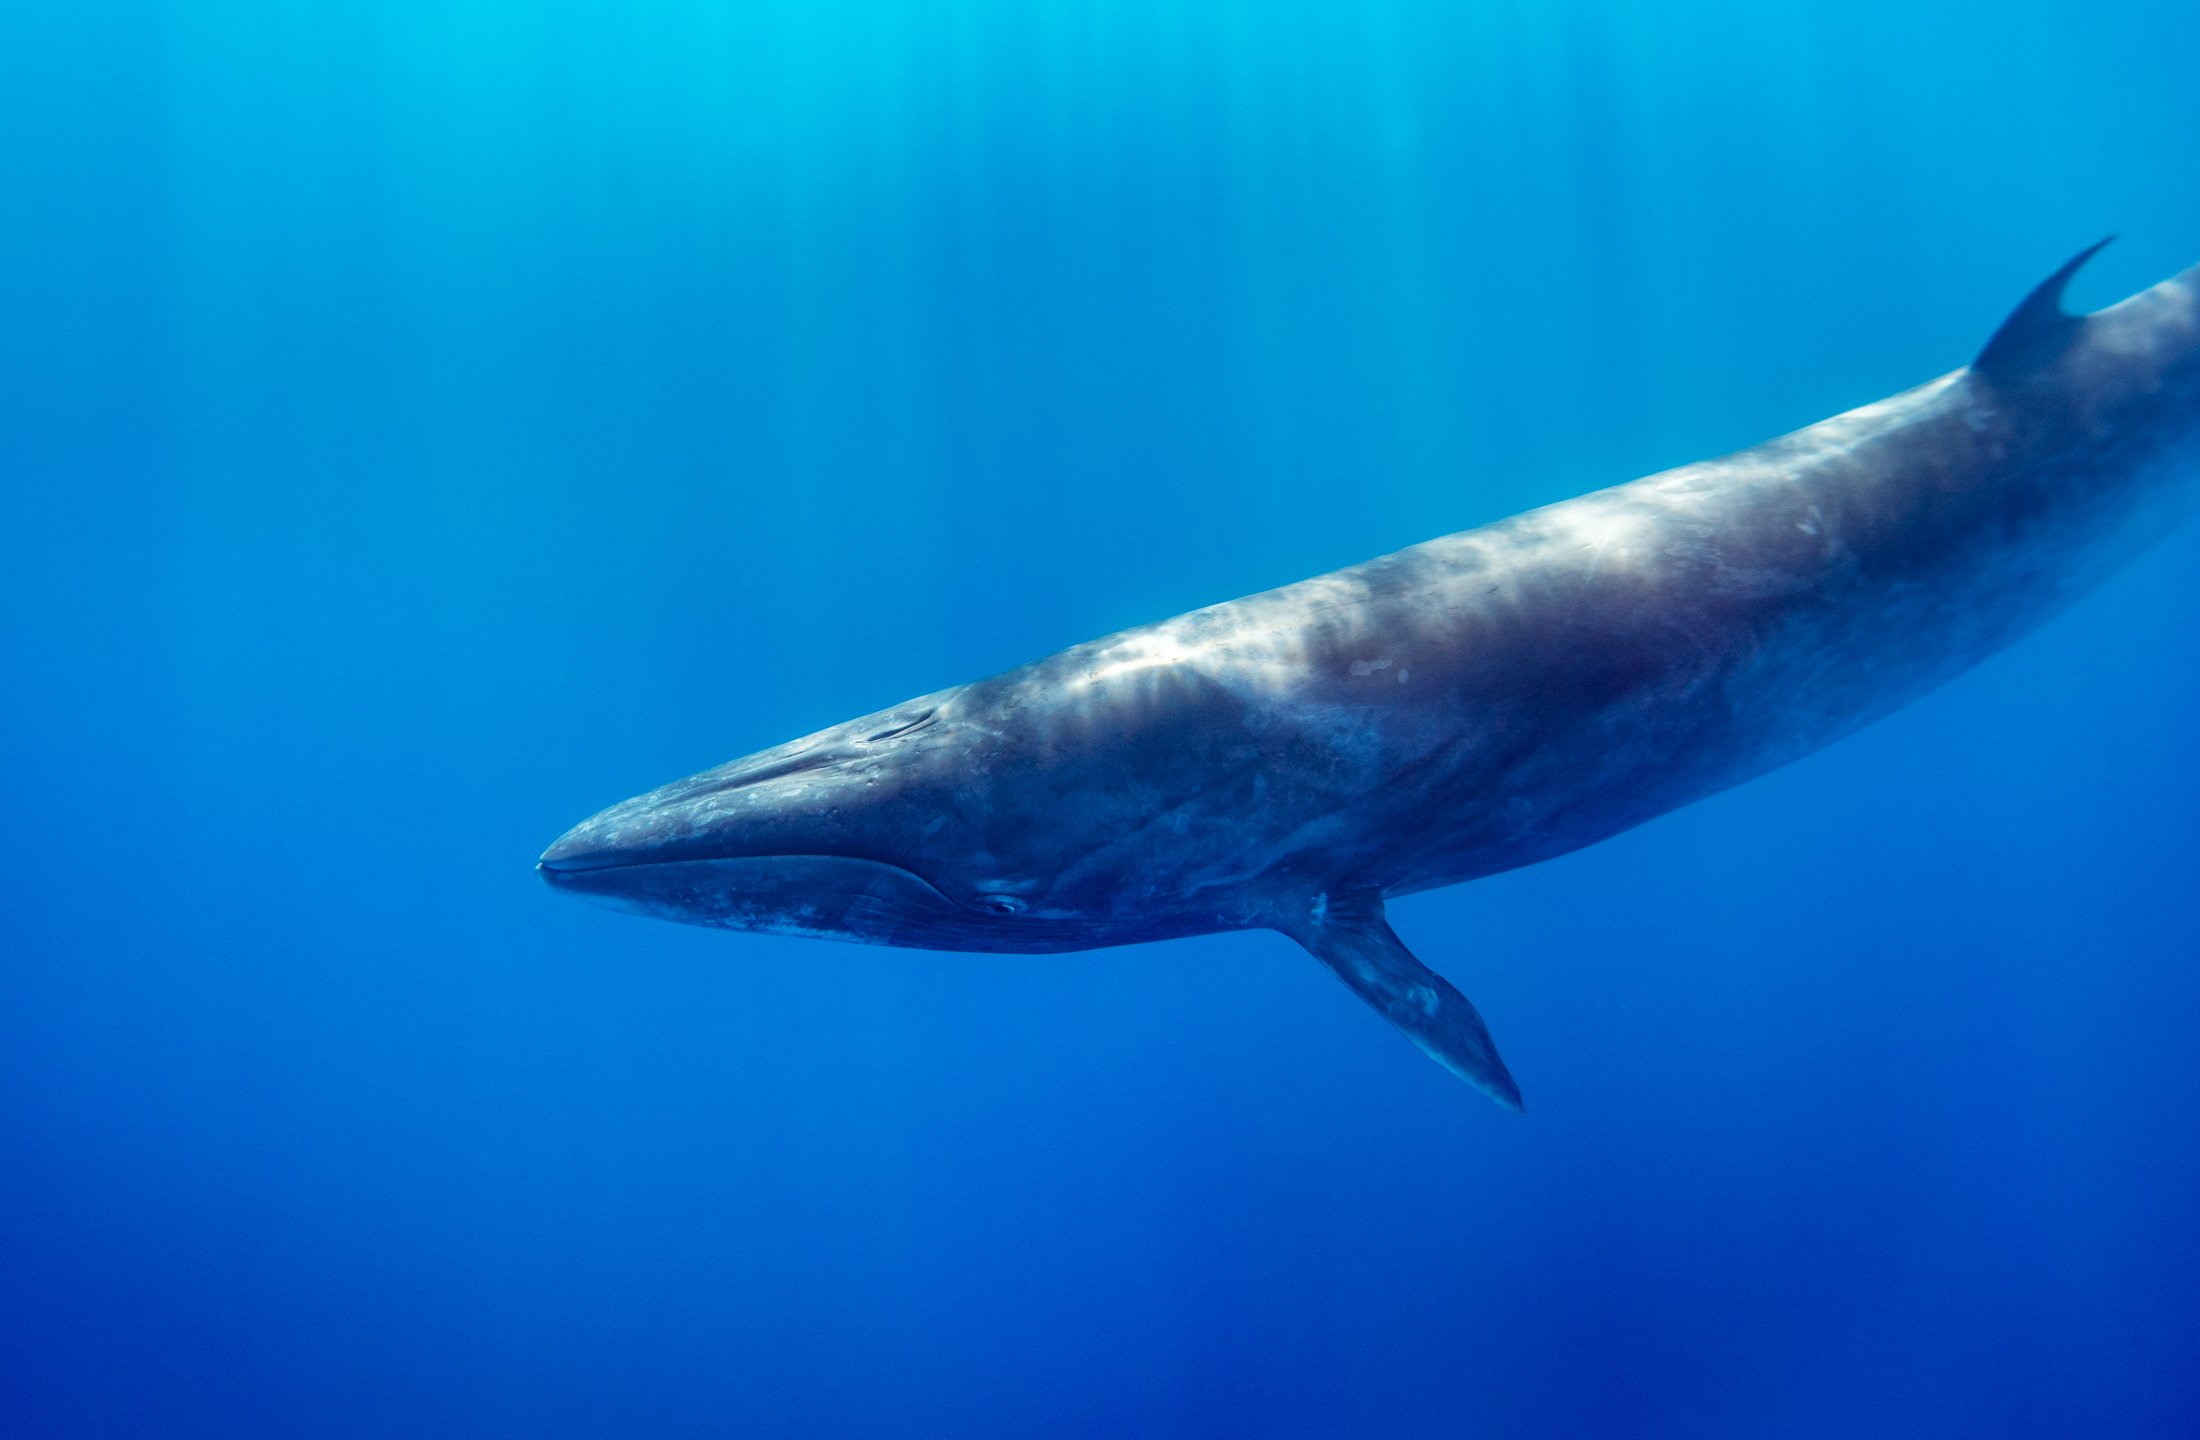
Sei Whale - Big Blue (PUSH FULL SIZE)
View fullsize
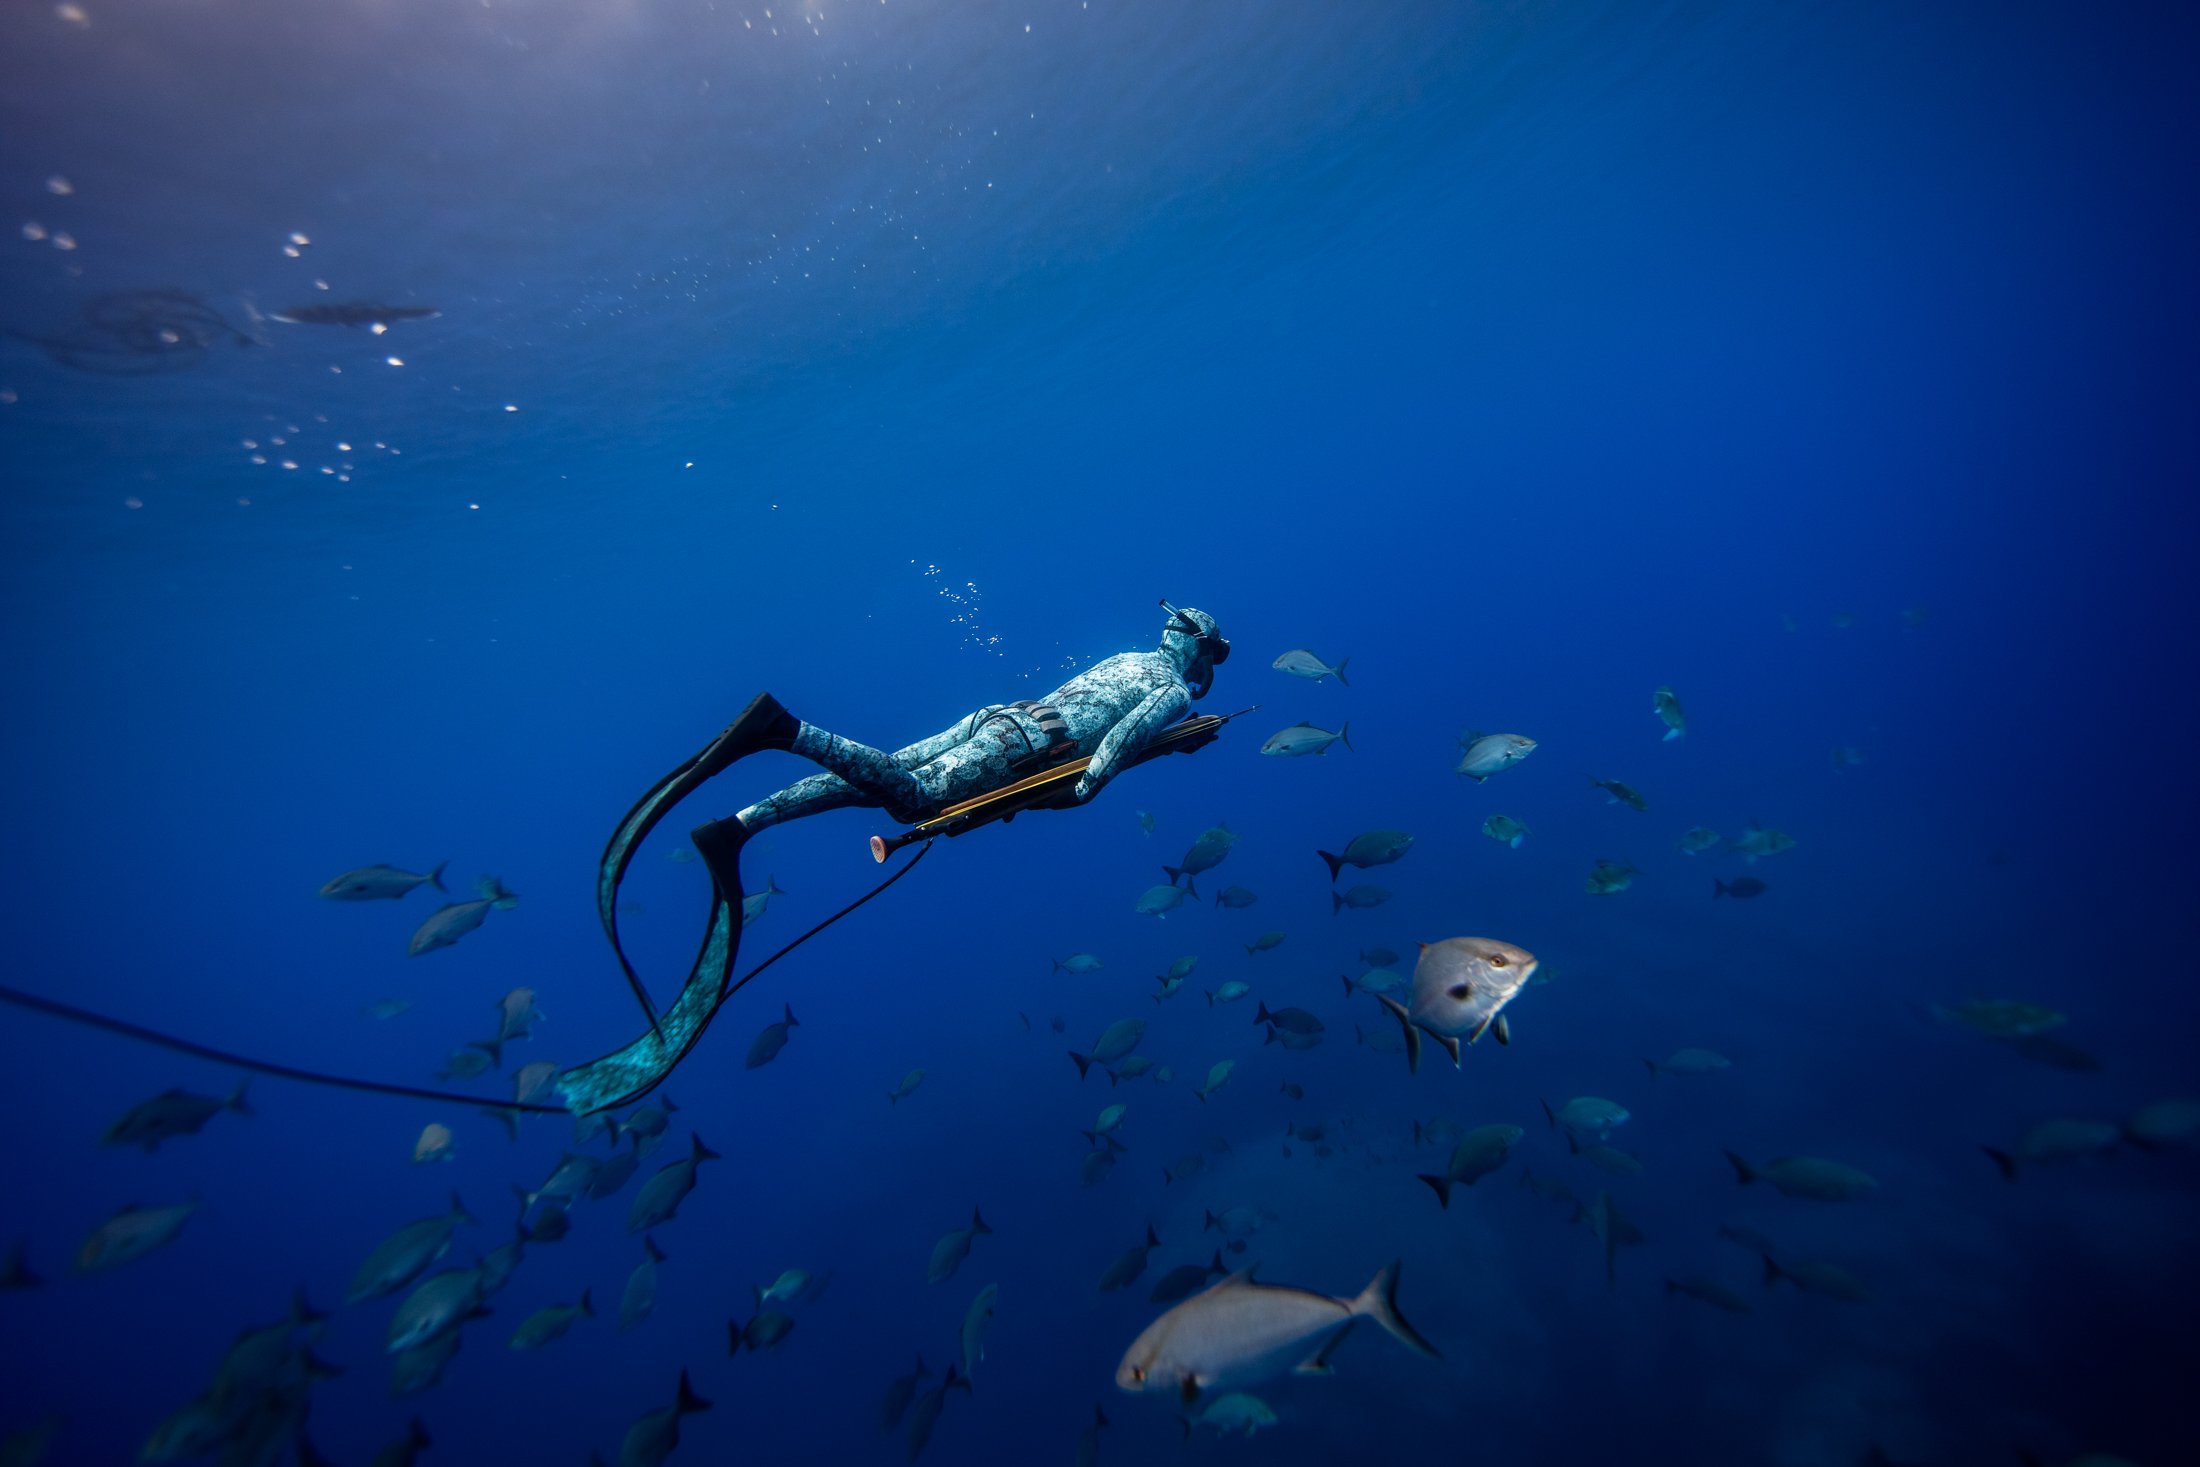
Azores No 5 - Big Blue
View fullsize
Azores No 1 - Big Blue
View fullsize
Bait Ball No 3 - Big Blue
View fullsize
Azores No 6 - Big Blue
View fullsize
Azores No 3 - Big Blue
View fullsize
Azores No 4 - Big Blue
View fullsize
Descent No 1 - Big Blue
View fullsize
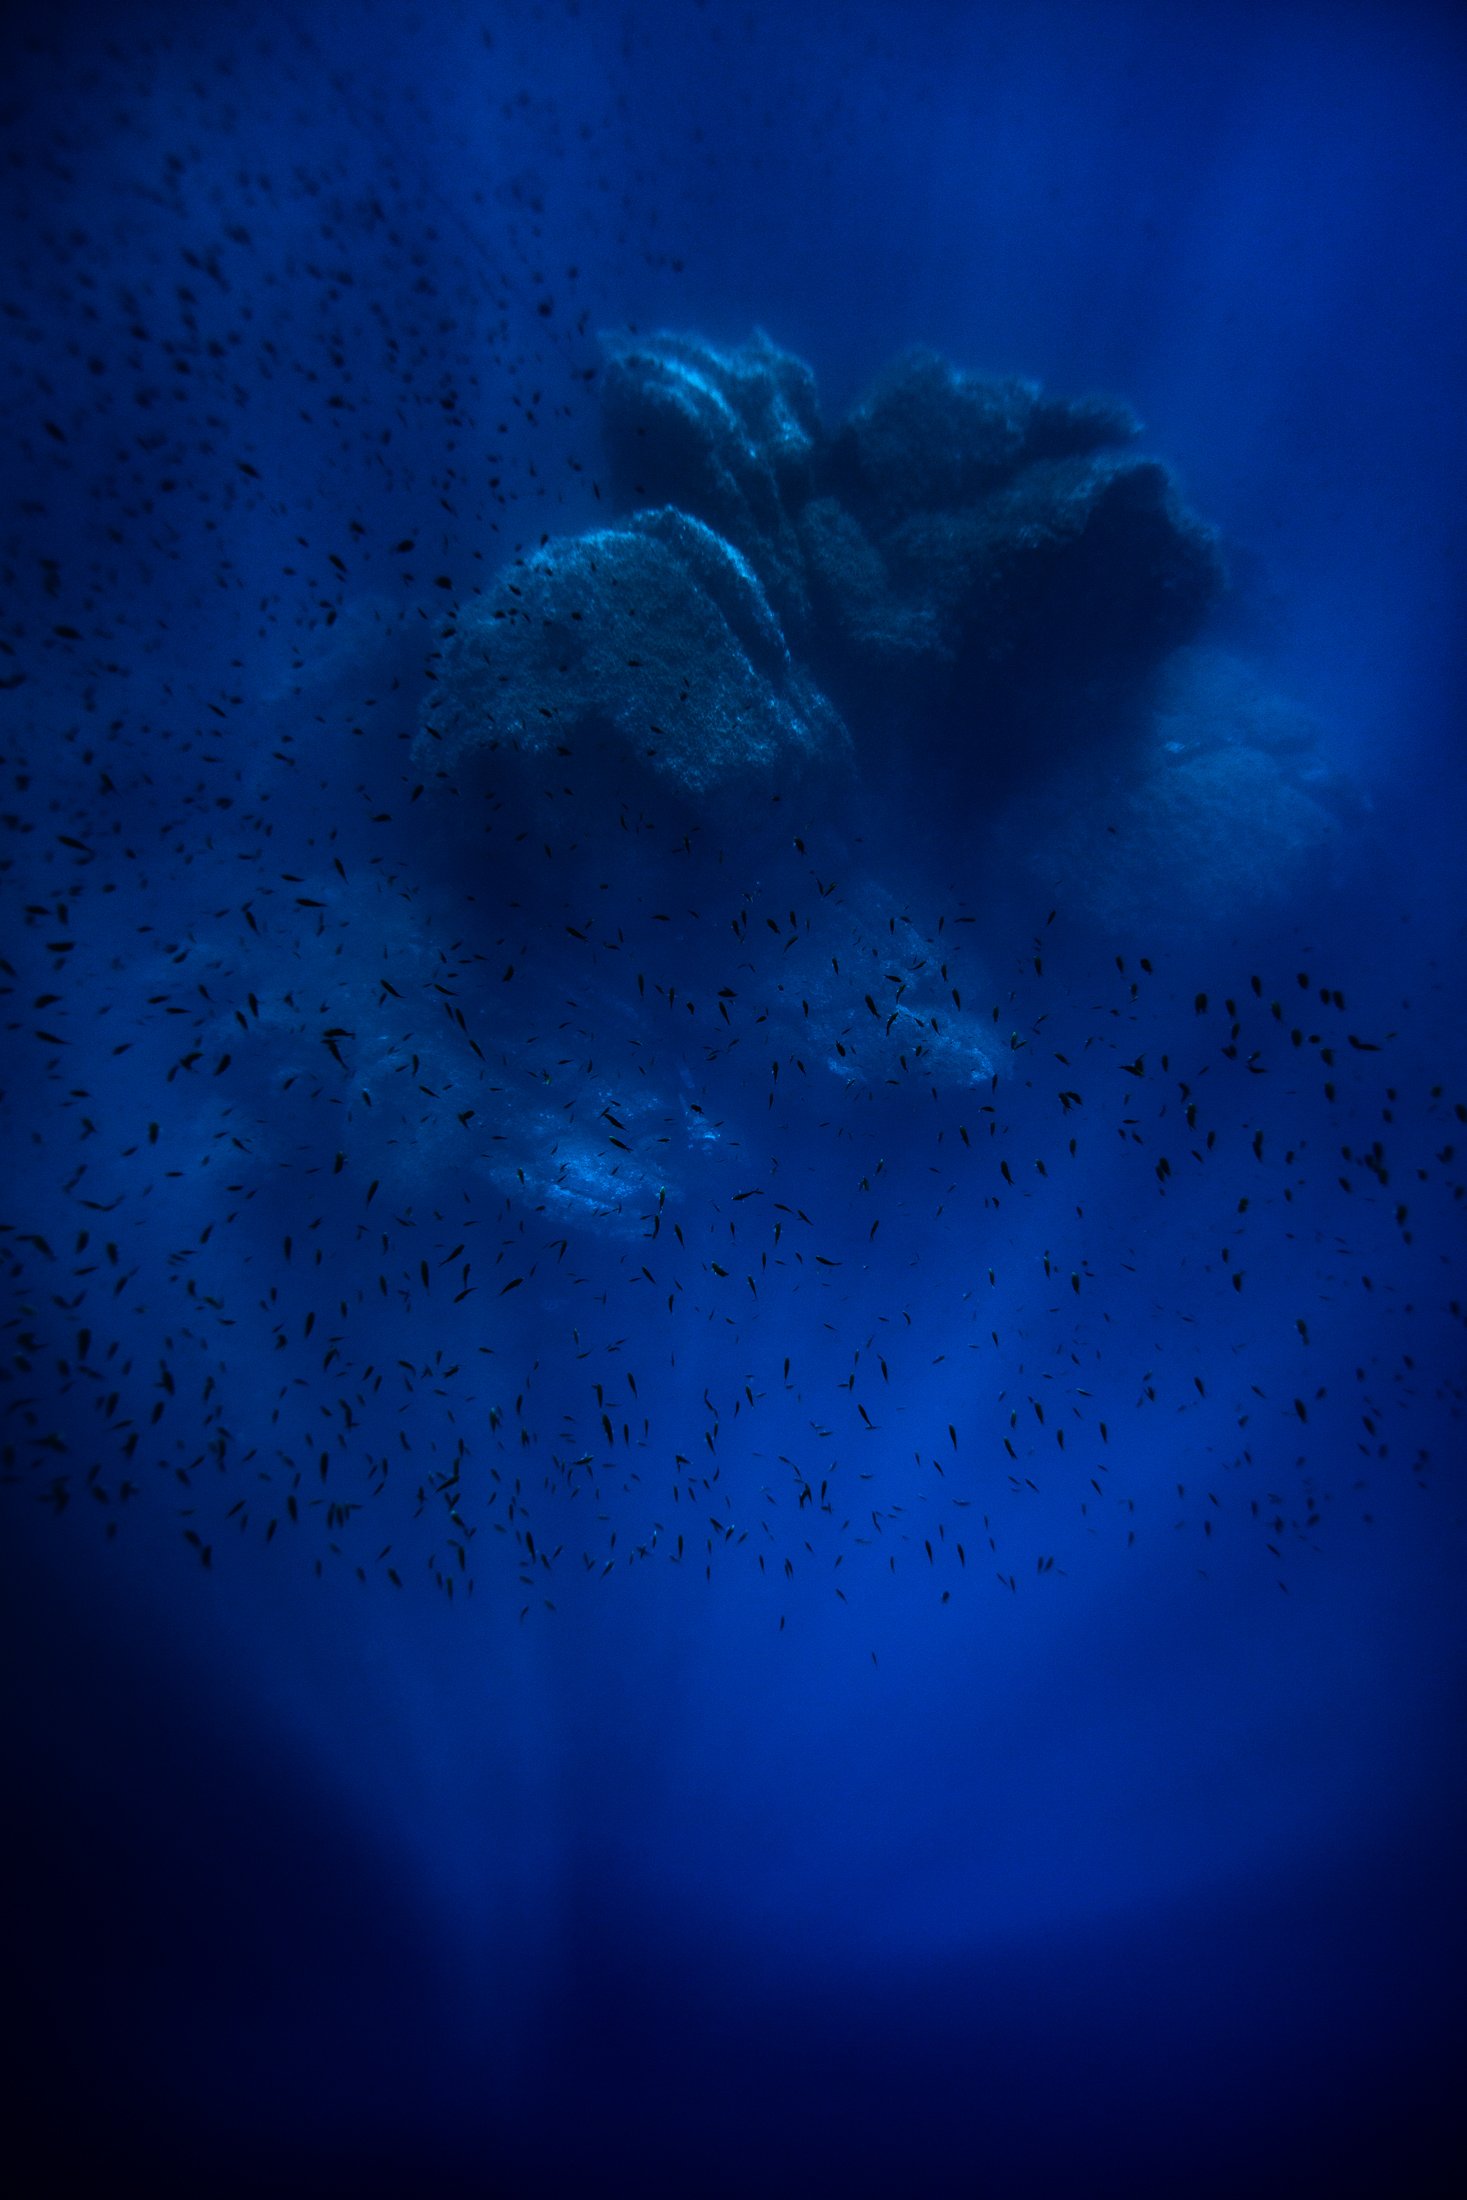
Floating above the mountain - Big Blue
View fullsize
Descent No 2 - Big Blue
View fullsize
Sei Whale No 2 - Big Blue
View fullsize
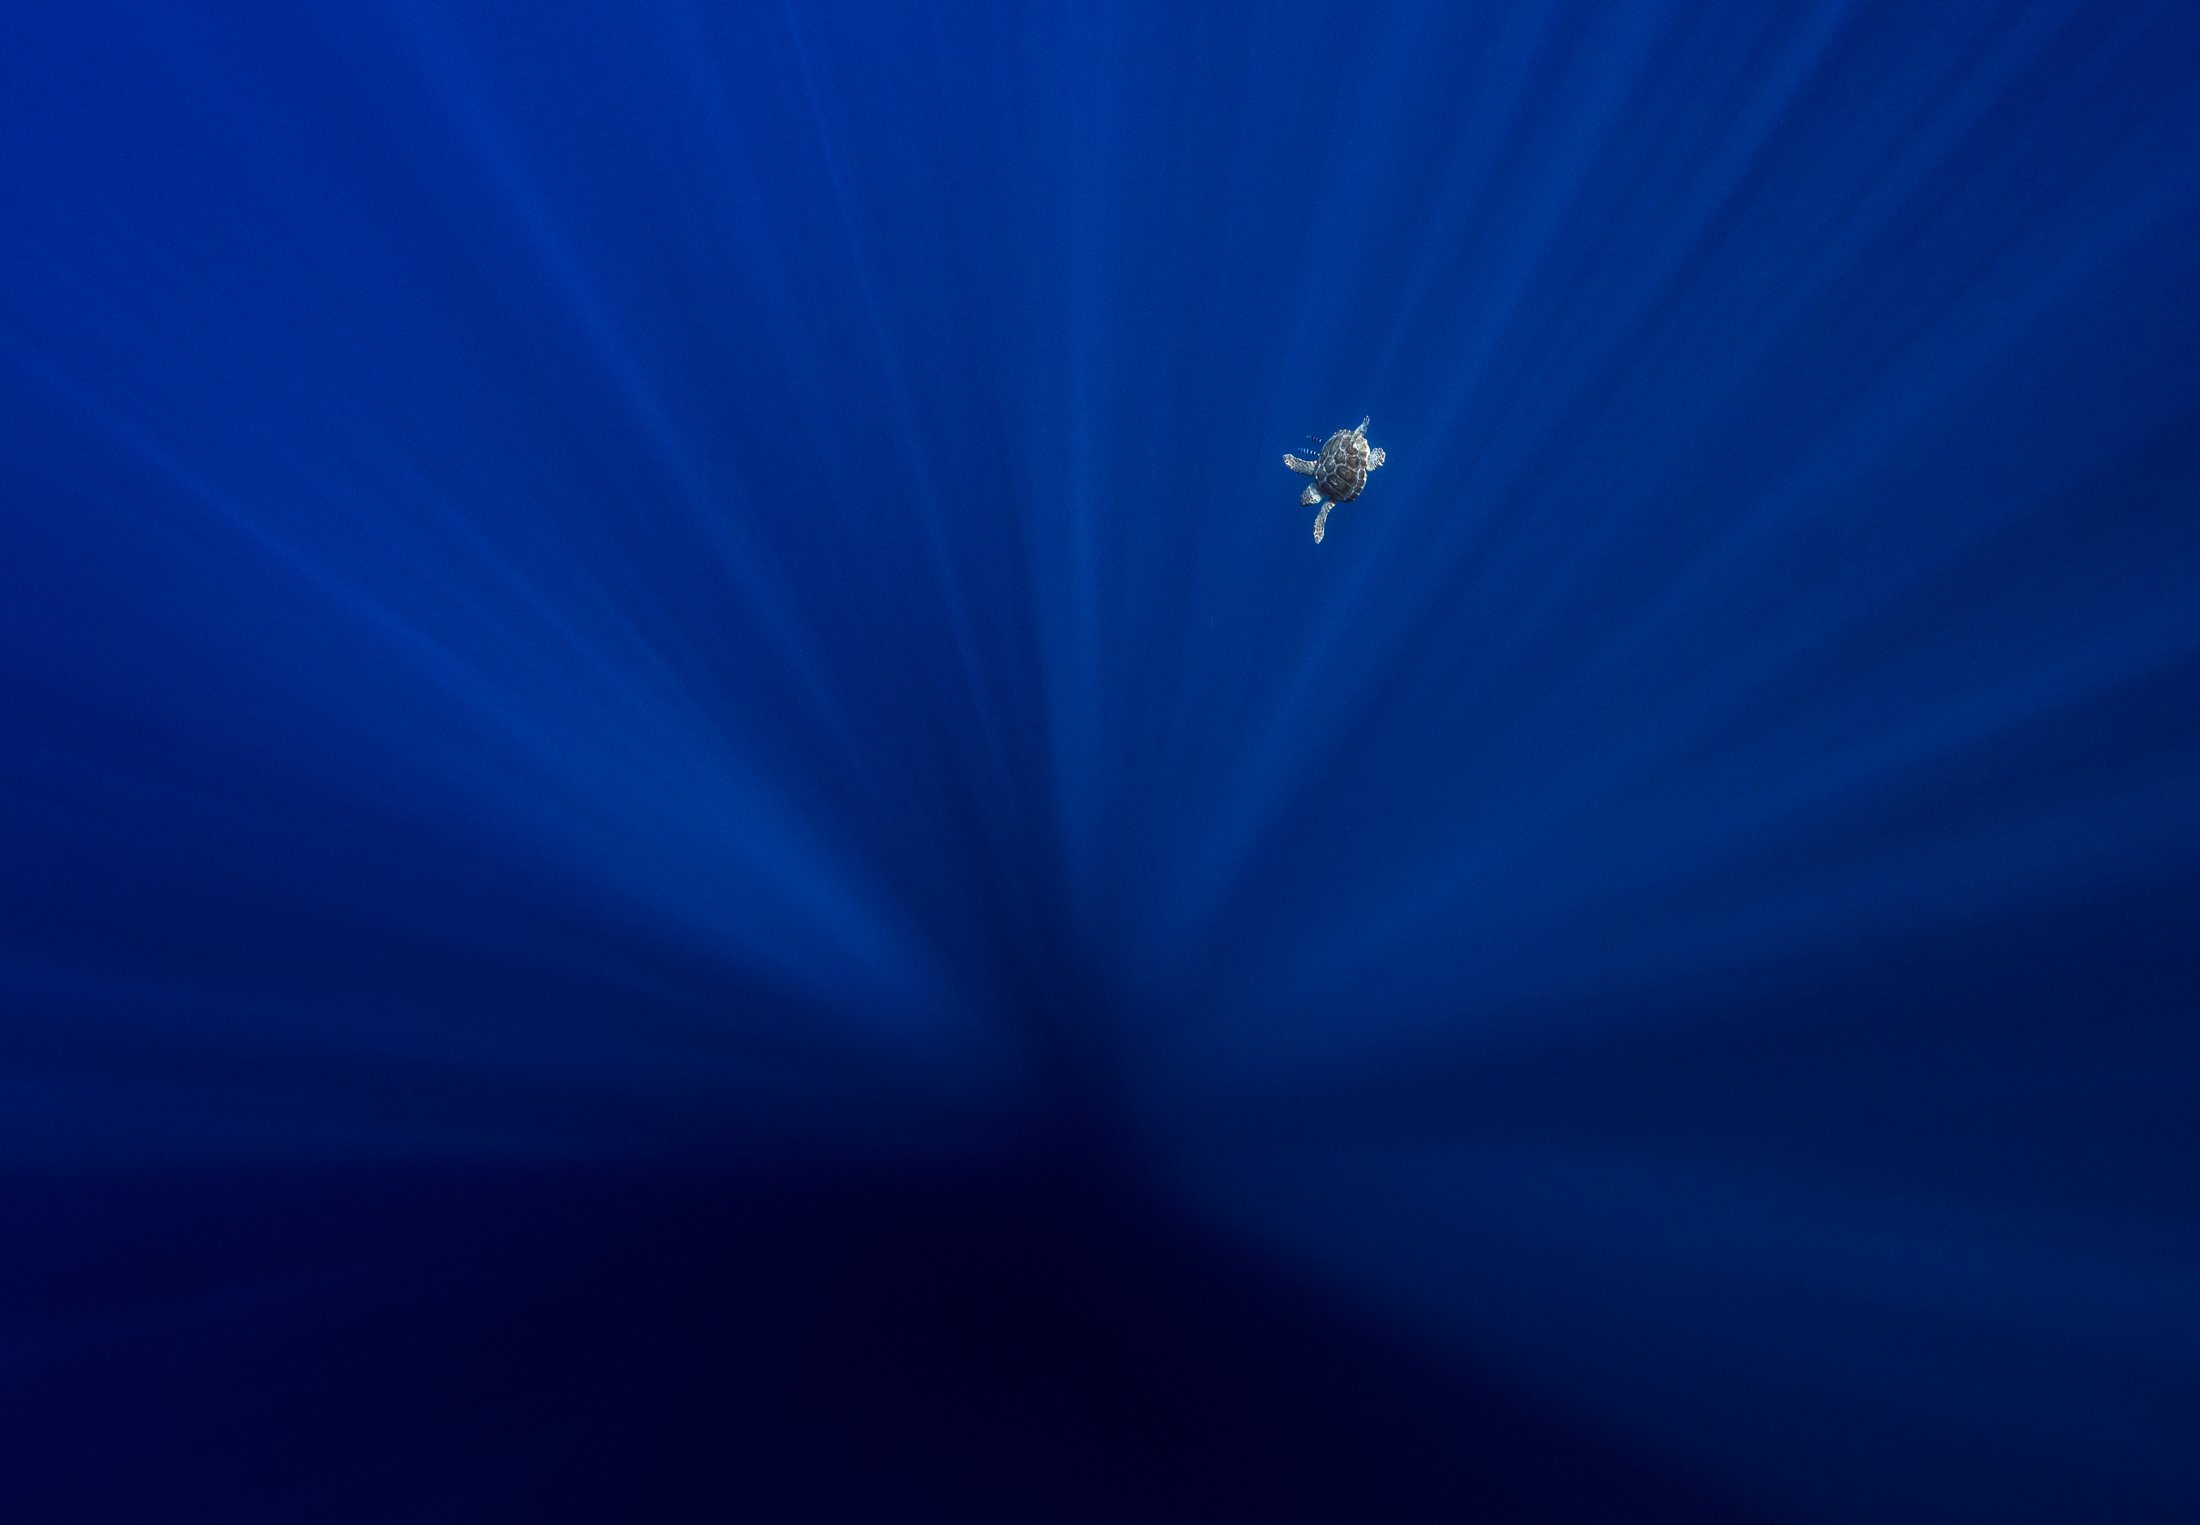
Up - Big Blue
View fullsize
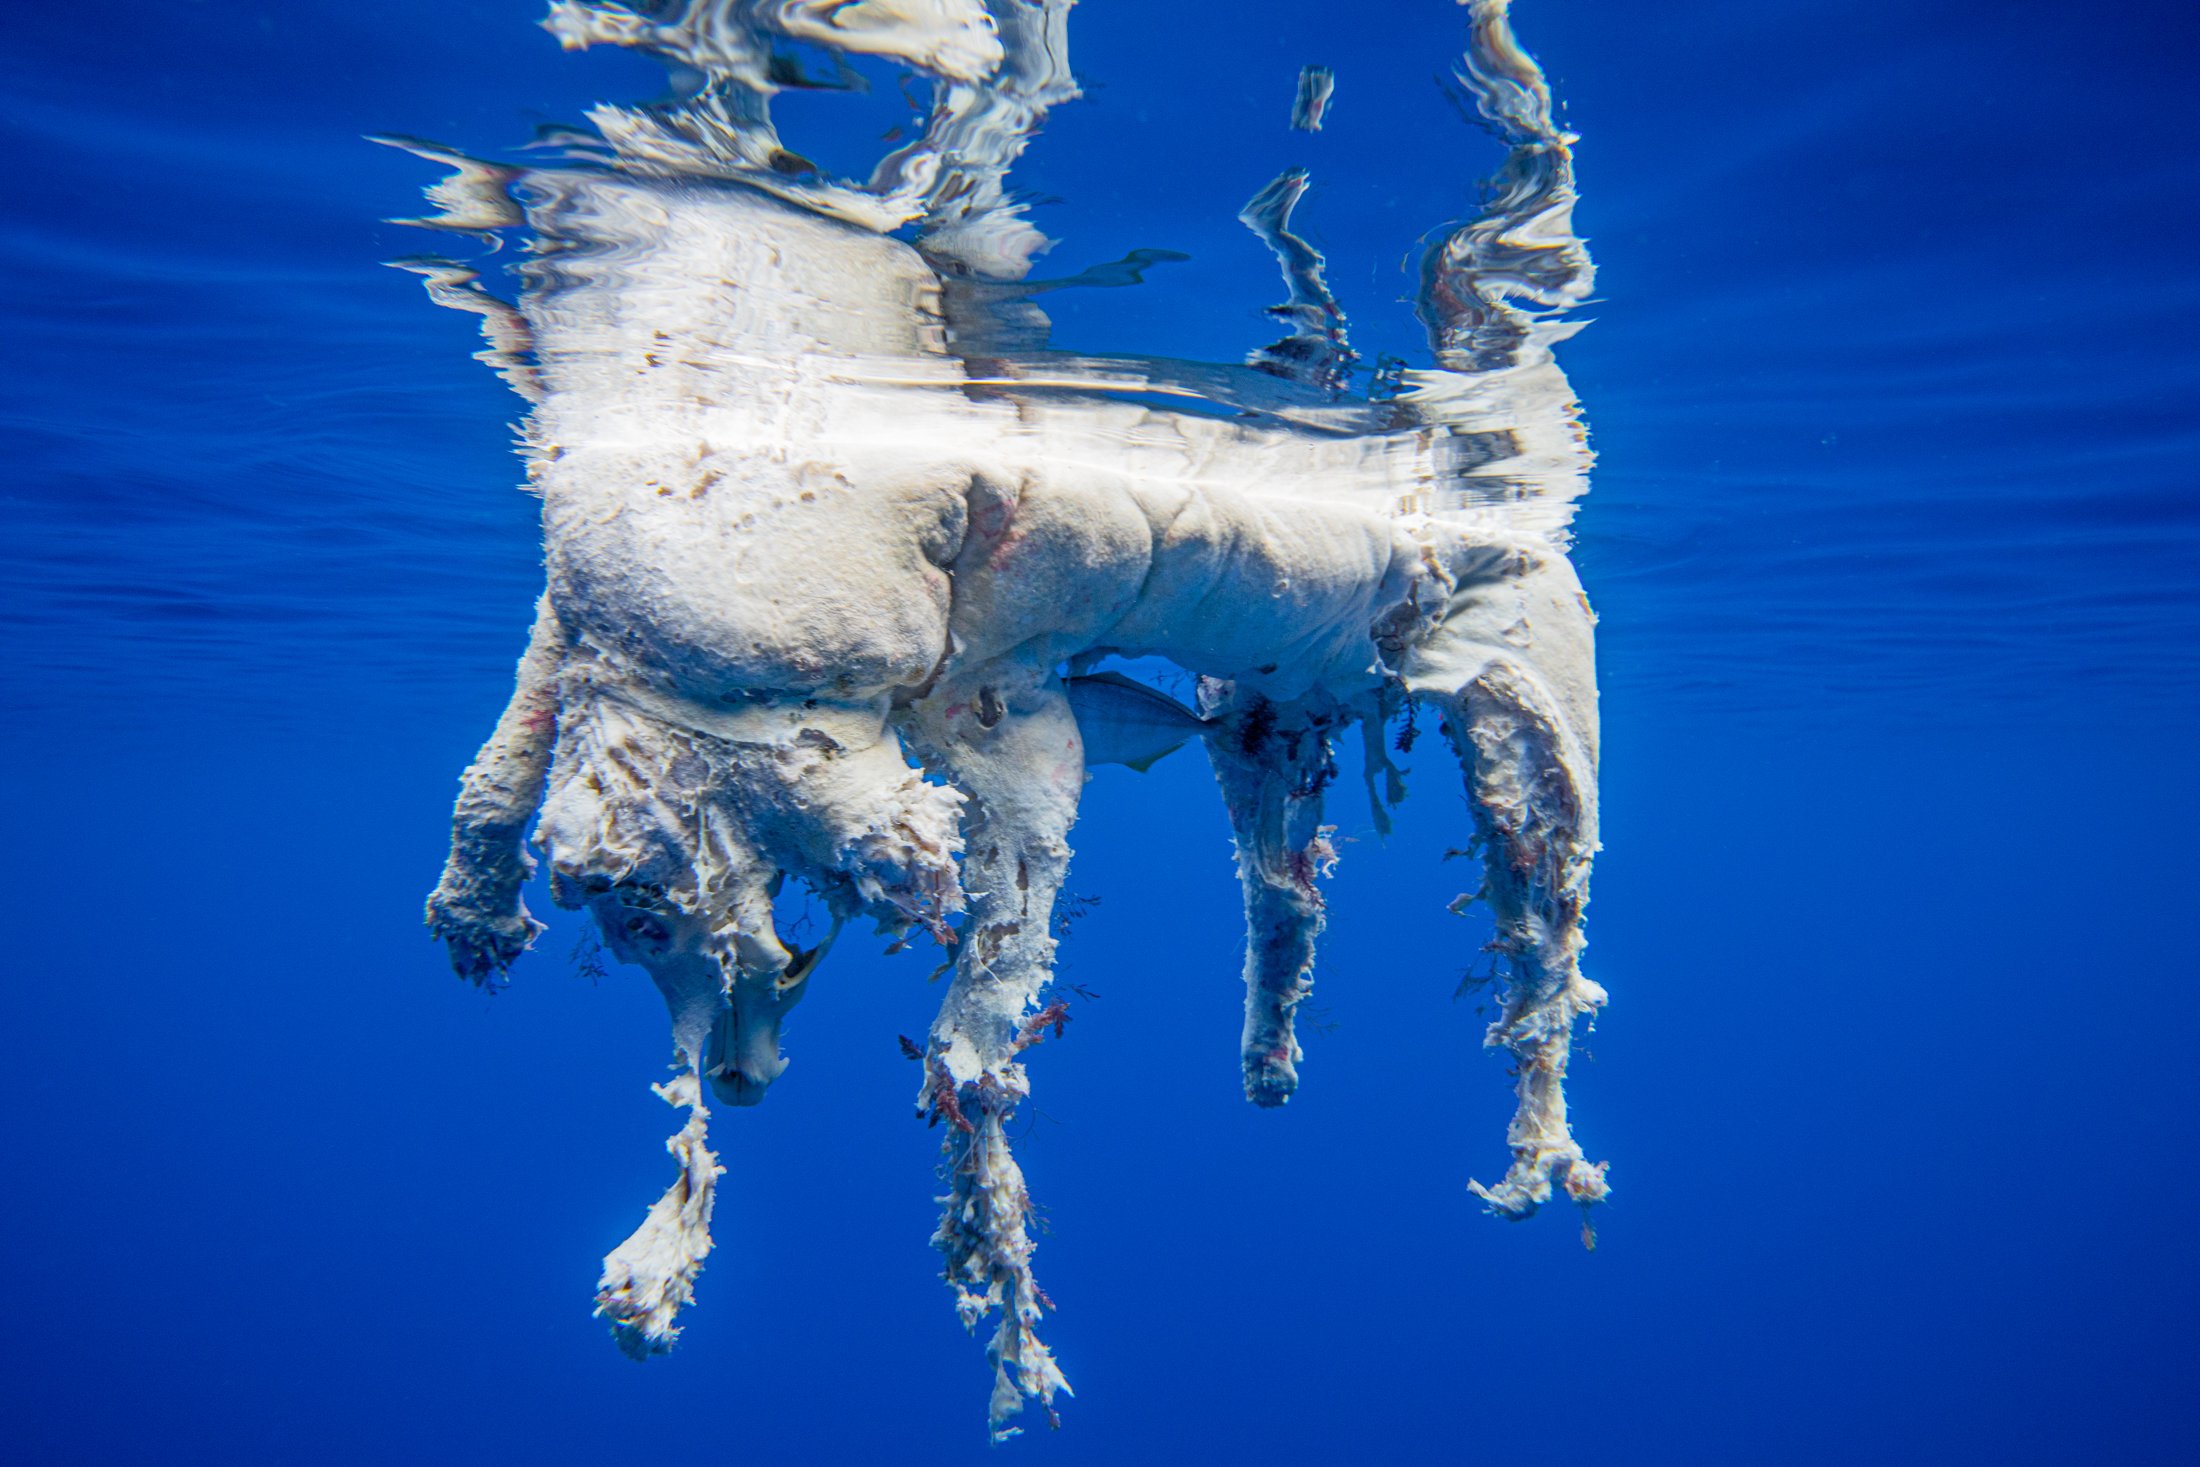
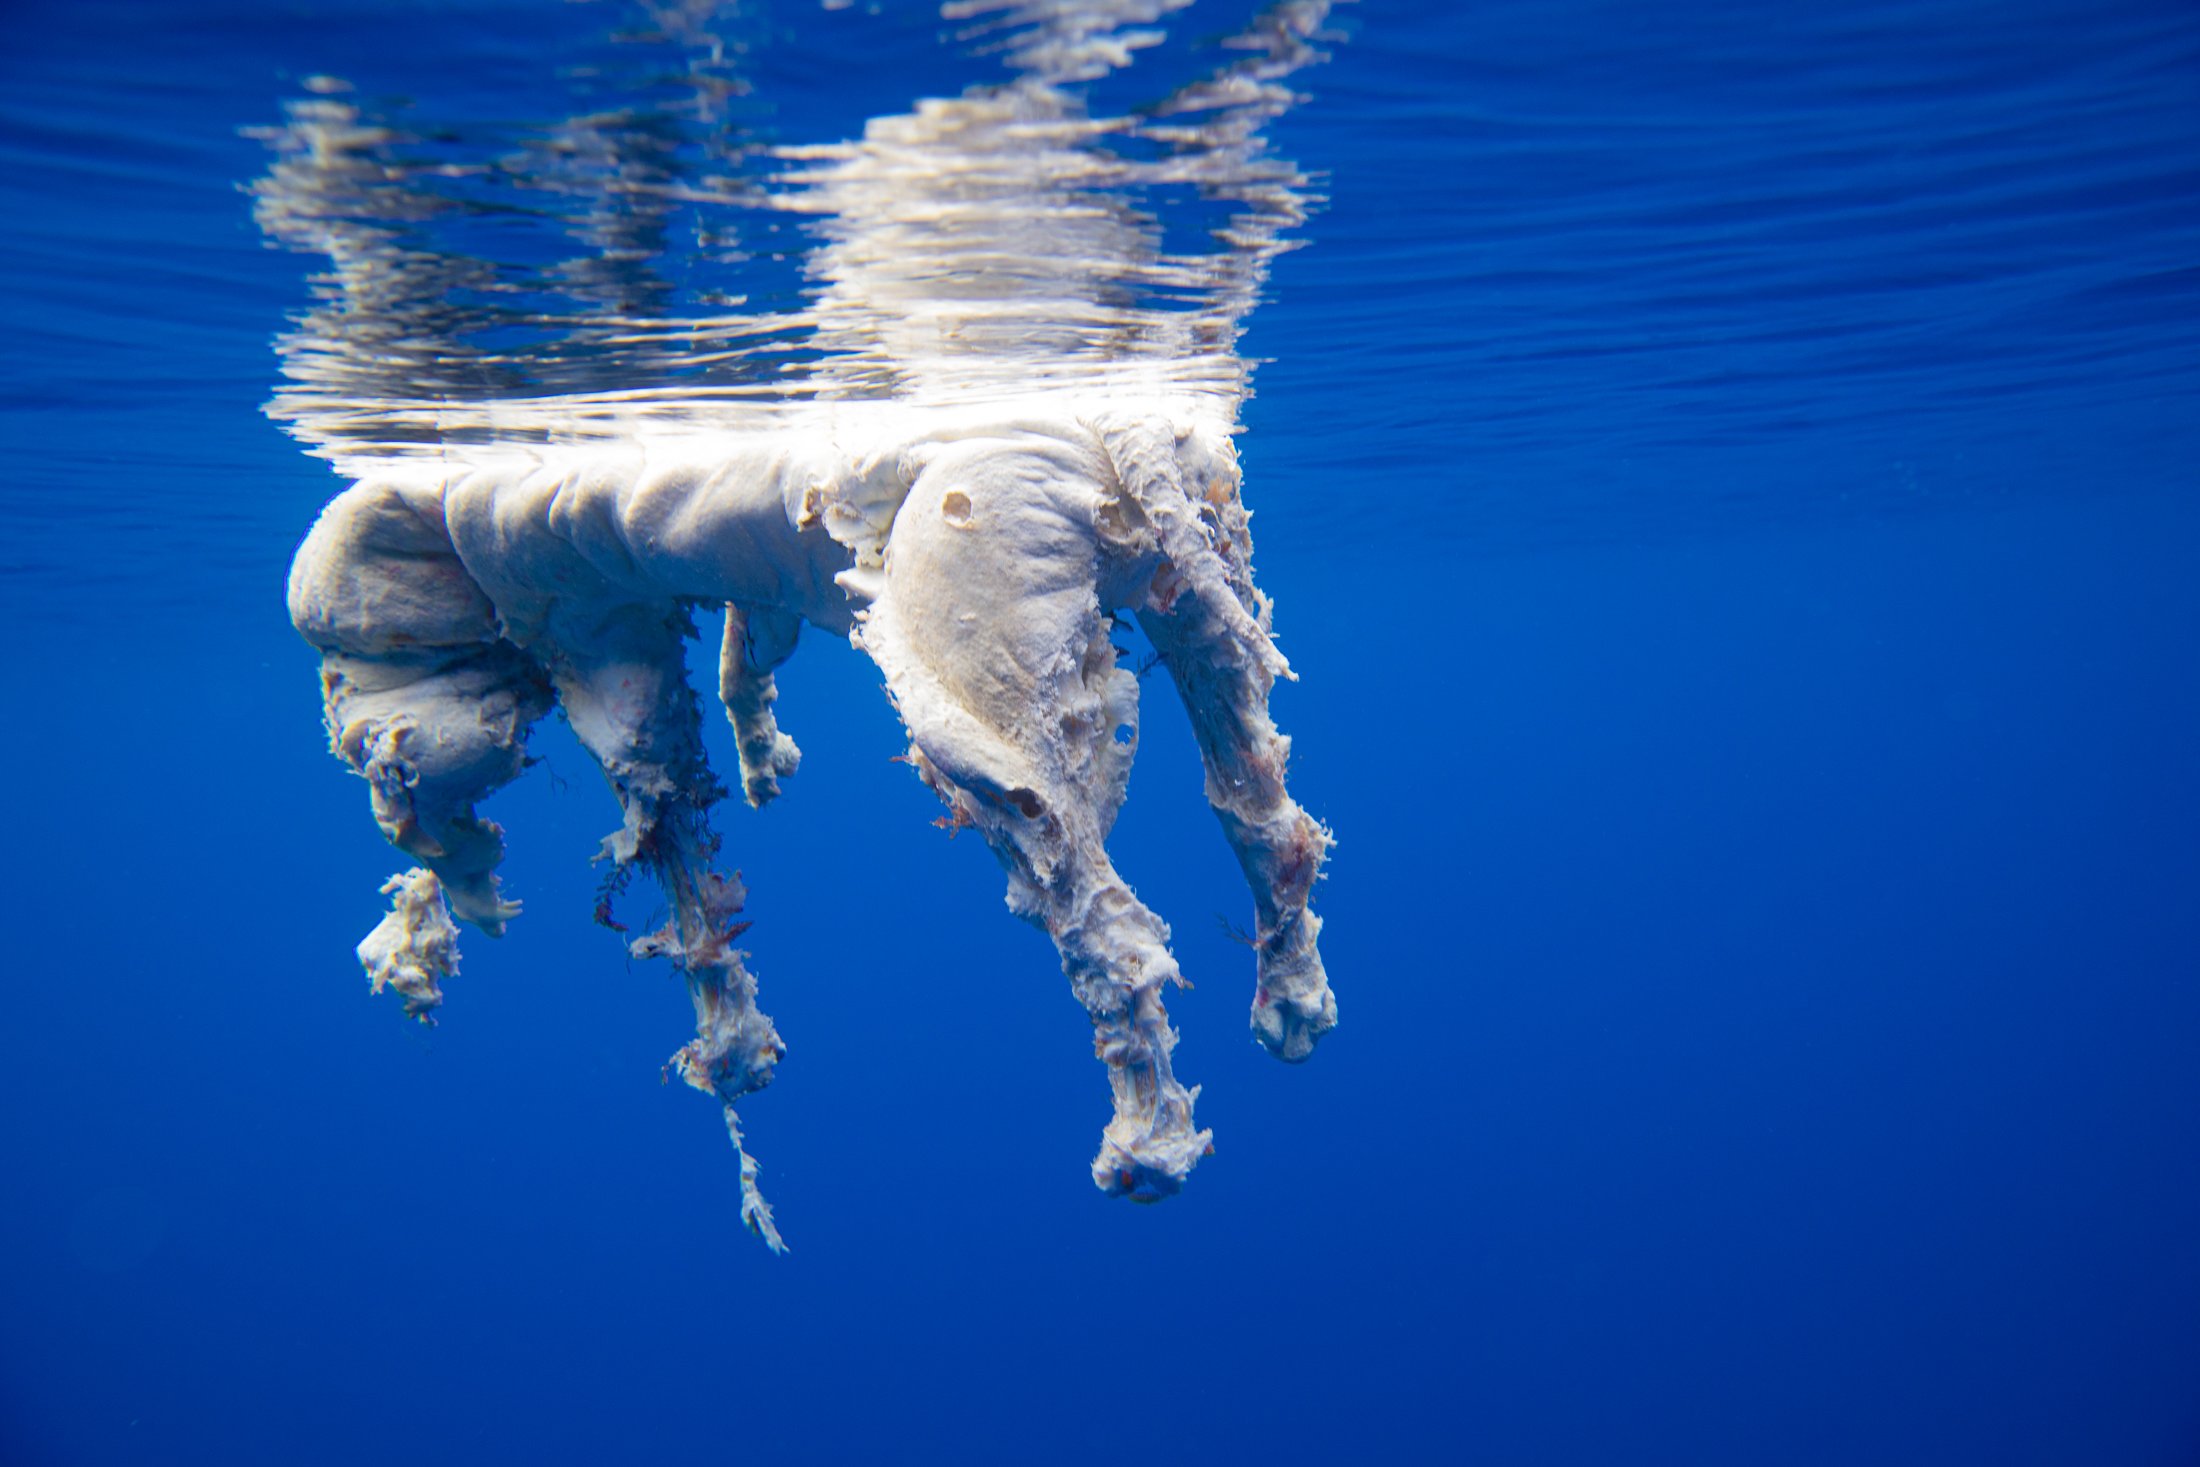
Dead Dog No 1 - Big Blue
View fullsize
Dead Dog No 2 - Big Blue
View fullsize
Sei Whale No III - Big Blue
PUSH
HERE
TO DOWNLOAD TEARSHEETS WITH MORE PHOTOS FROM THIS SERIES
All
Current Exhibition (No)
The White Whale
Dark Water vol I & II
Fallen vol I - IV
Arctic Jungle vol I - III
Hard Water vol I - IV
Breath
Cyclus vol I - IV
African Jungle vol I & II
Waterscapes vol I - IV
The Pod
Parallell
Swim
Big Blue
In Motion - videostills
Current Exhibition (No)
The White Whale
Dark Water vol I & II
Fallen vol I - IV
Arctic Jungle vol I - III
Hard Water vol I - IV
Breath
Cyclus vol I - IV
African Jungle vol I & II
Waterscapes vol I - IV
The Pod
Parallell
Swim
Big Blue
In Motion - videostills